A Step-by-Step Guide to Backpacking Lone Eagle Peak in Colorado
Backpacking to Lone Eagle Peak: Everything You Need to Know
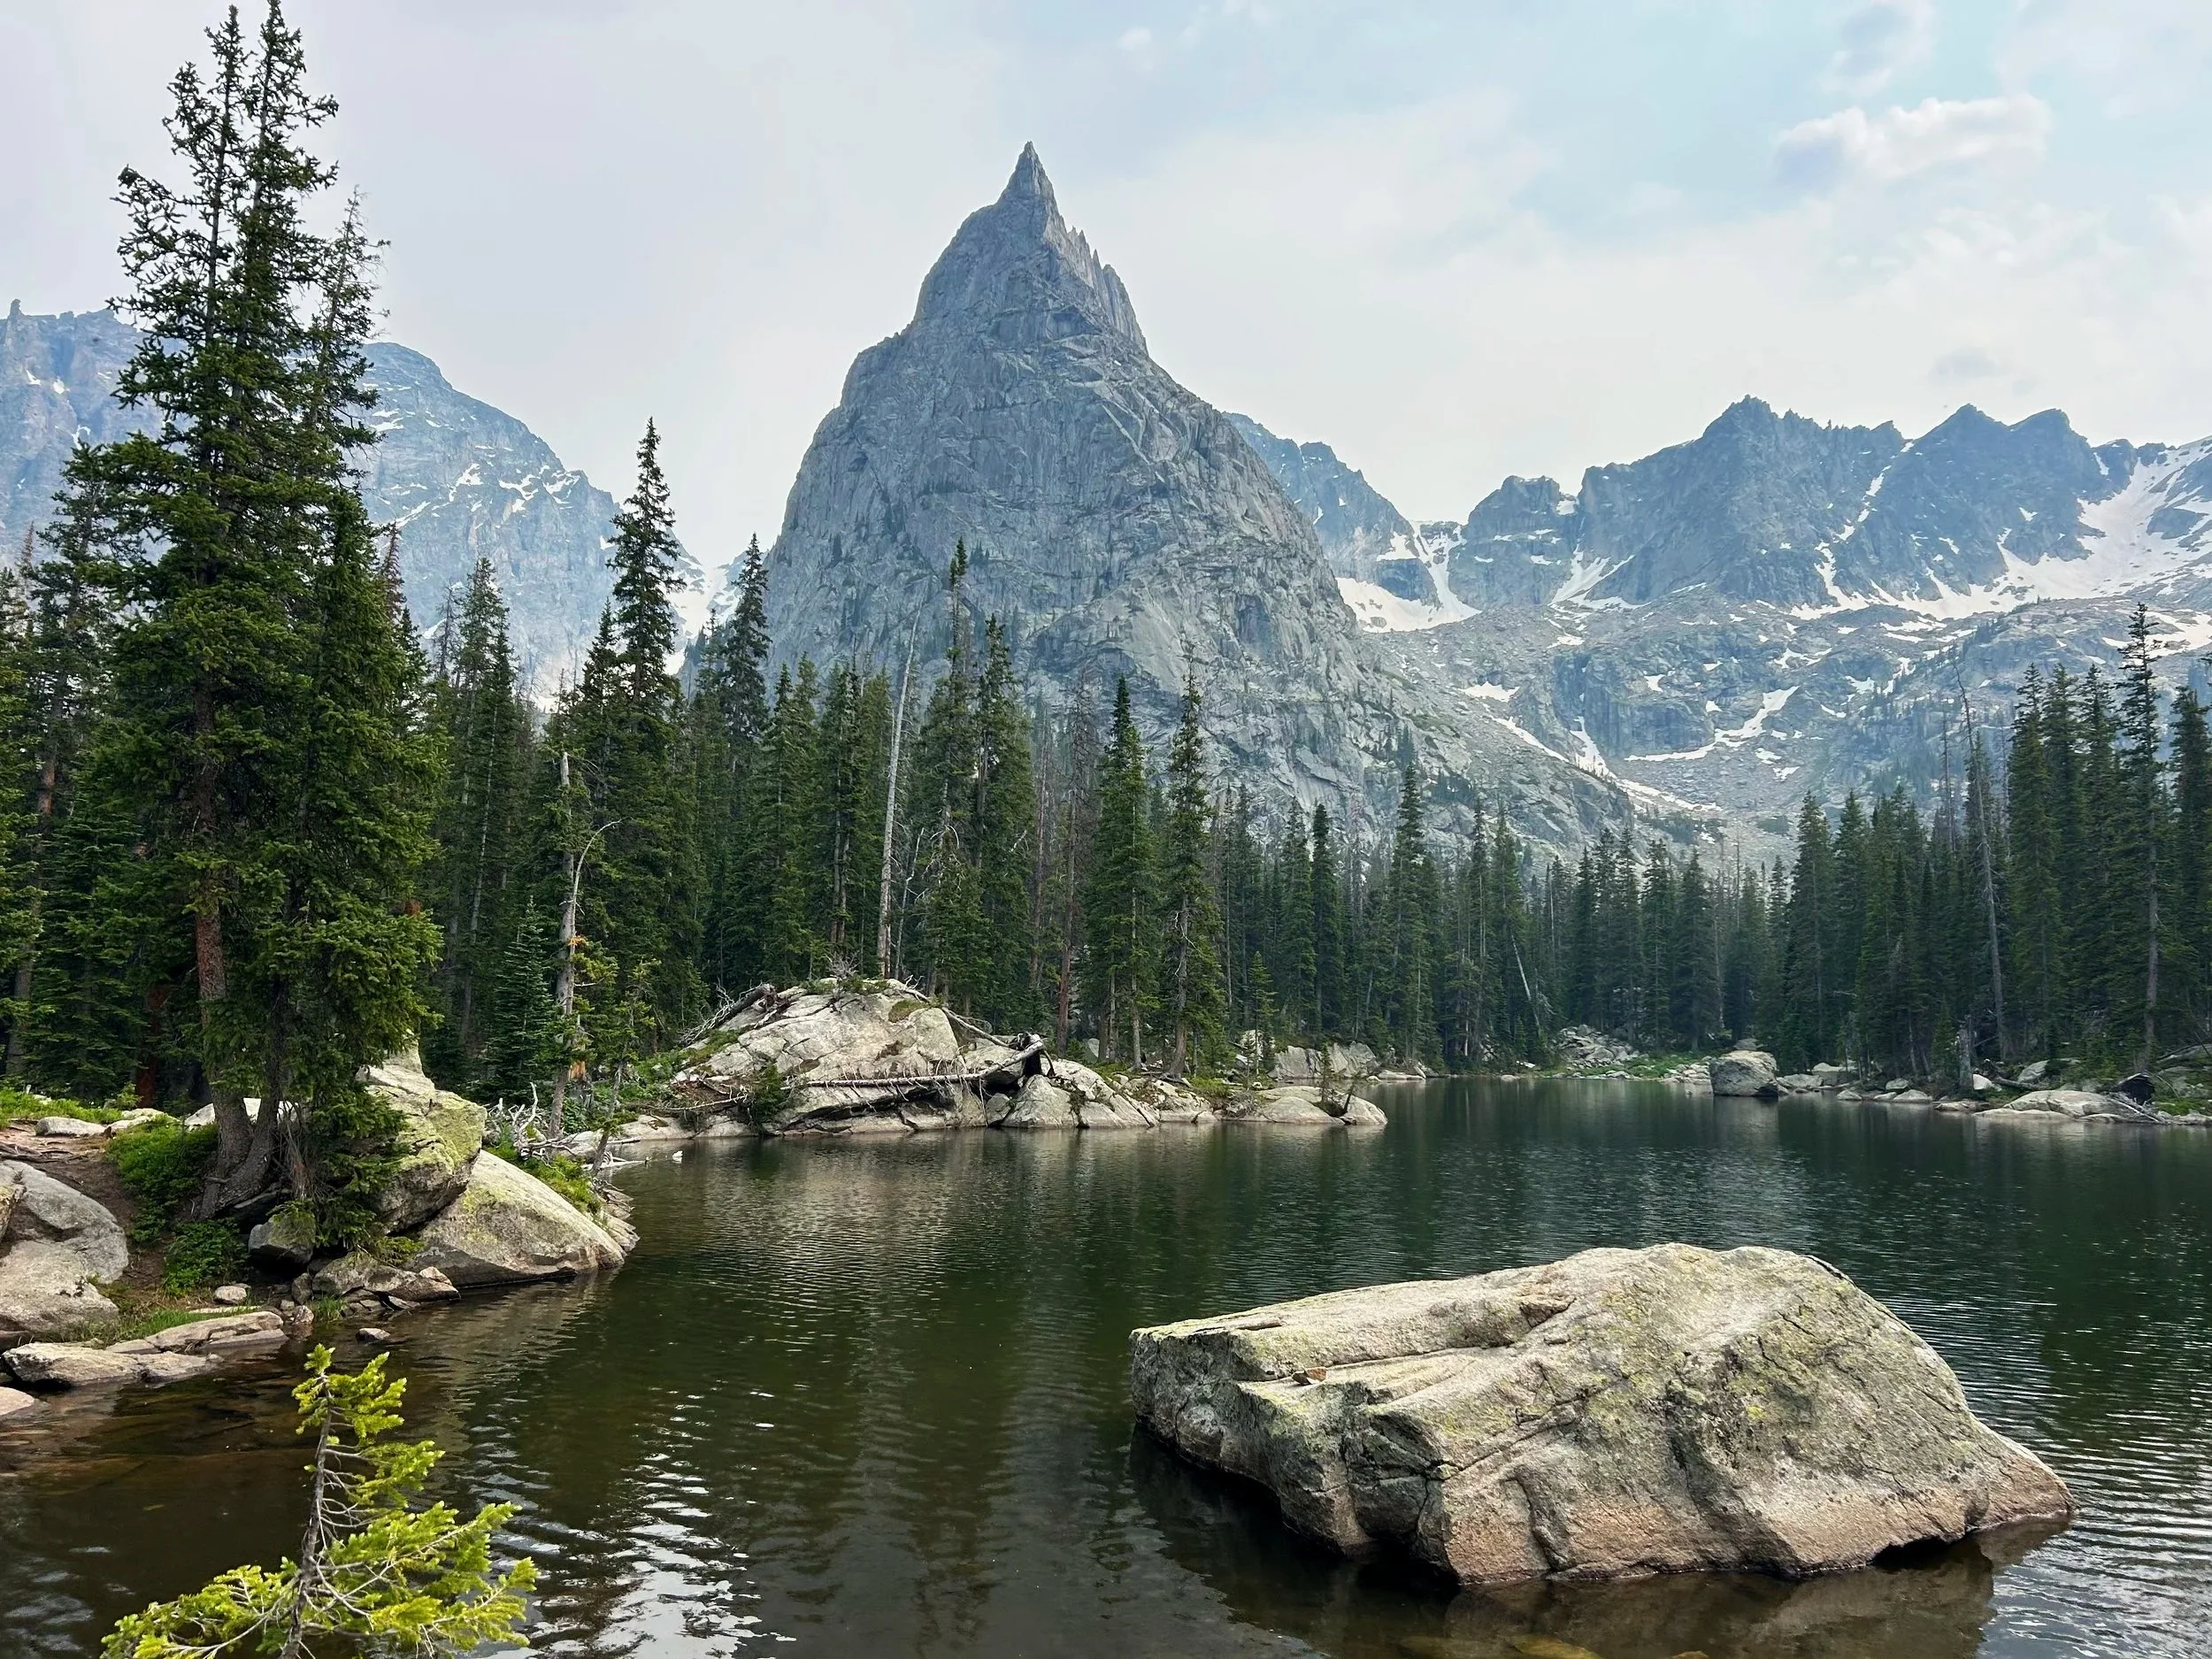
If you're anything like me, you've probably seen this view all over Instagram.
That iconic scene of Lone Eagle Peak towering above Crater Lake and Mirror Lake is one of Colorado's most photographed backpacking destinations. It seems like every hiking influencer has been here at least once.
But here's the frustrating part: almost no one explains how to actually get there.
When I started planning my trip, I found the permit process surprisingly confusing, and figuring out where to camp took much more research than I expected.
So if you're hoping to backpack to Crater Lake beneath Lone Eagle Peak, this guide walks you through everything I learned, from permits and parking to finding your campsite.
Whether this is your first backpacking trip or you're a seasoned backpacker looking for one of Colorado's most breathtaking destinations outside of Rocky Mountain National Park, here's exactly how to plan your adventure.
Backpacking to Lone Eagle Peak at a Glance
Location: Indian Peaks Wilderness
Trail: Cascade Creek Trail to Crater Lake
Trailhead: Monarch Lake
Trail Type: Out & back
Distance: Approximately 16 miles round trip (over 8 miles to get to the campsite from the trailhead)
Difficulty: Moderate to Difficult
Elevation Gain: About 1,700 feet
Permit Required: Yes (for overnight camping)
Parking Permit: Yes
Dogs Allowed: Yes, on leash
Campfires: Not permitted
Planning Your Backpacking Trip
Step 1. Choose Your Route
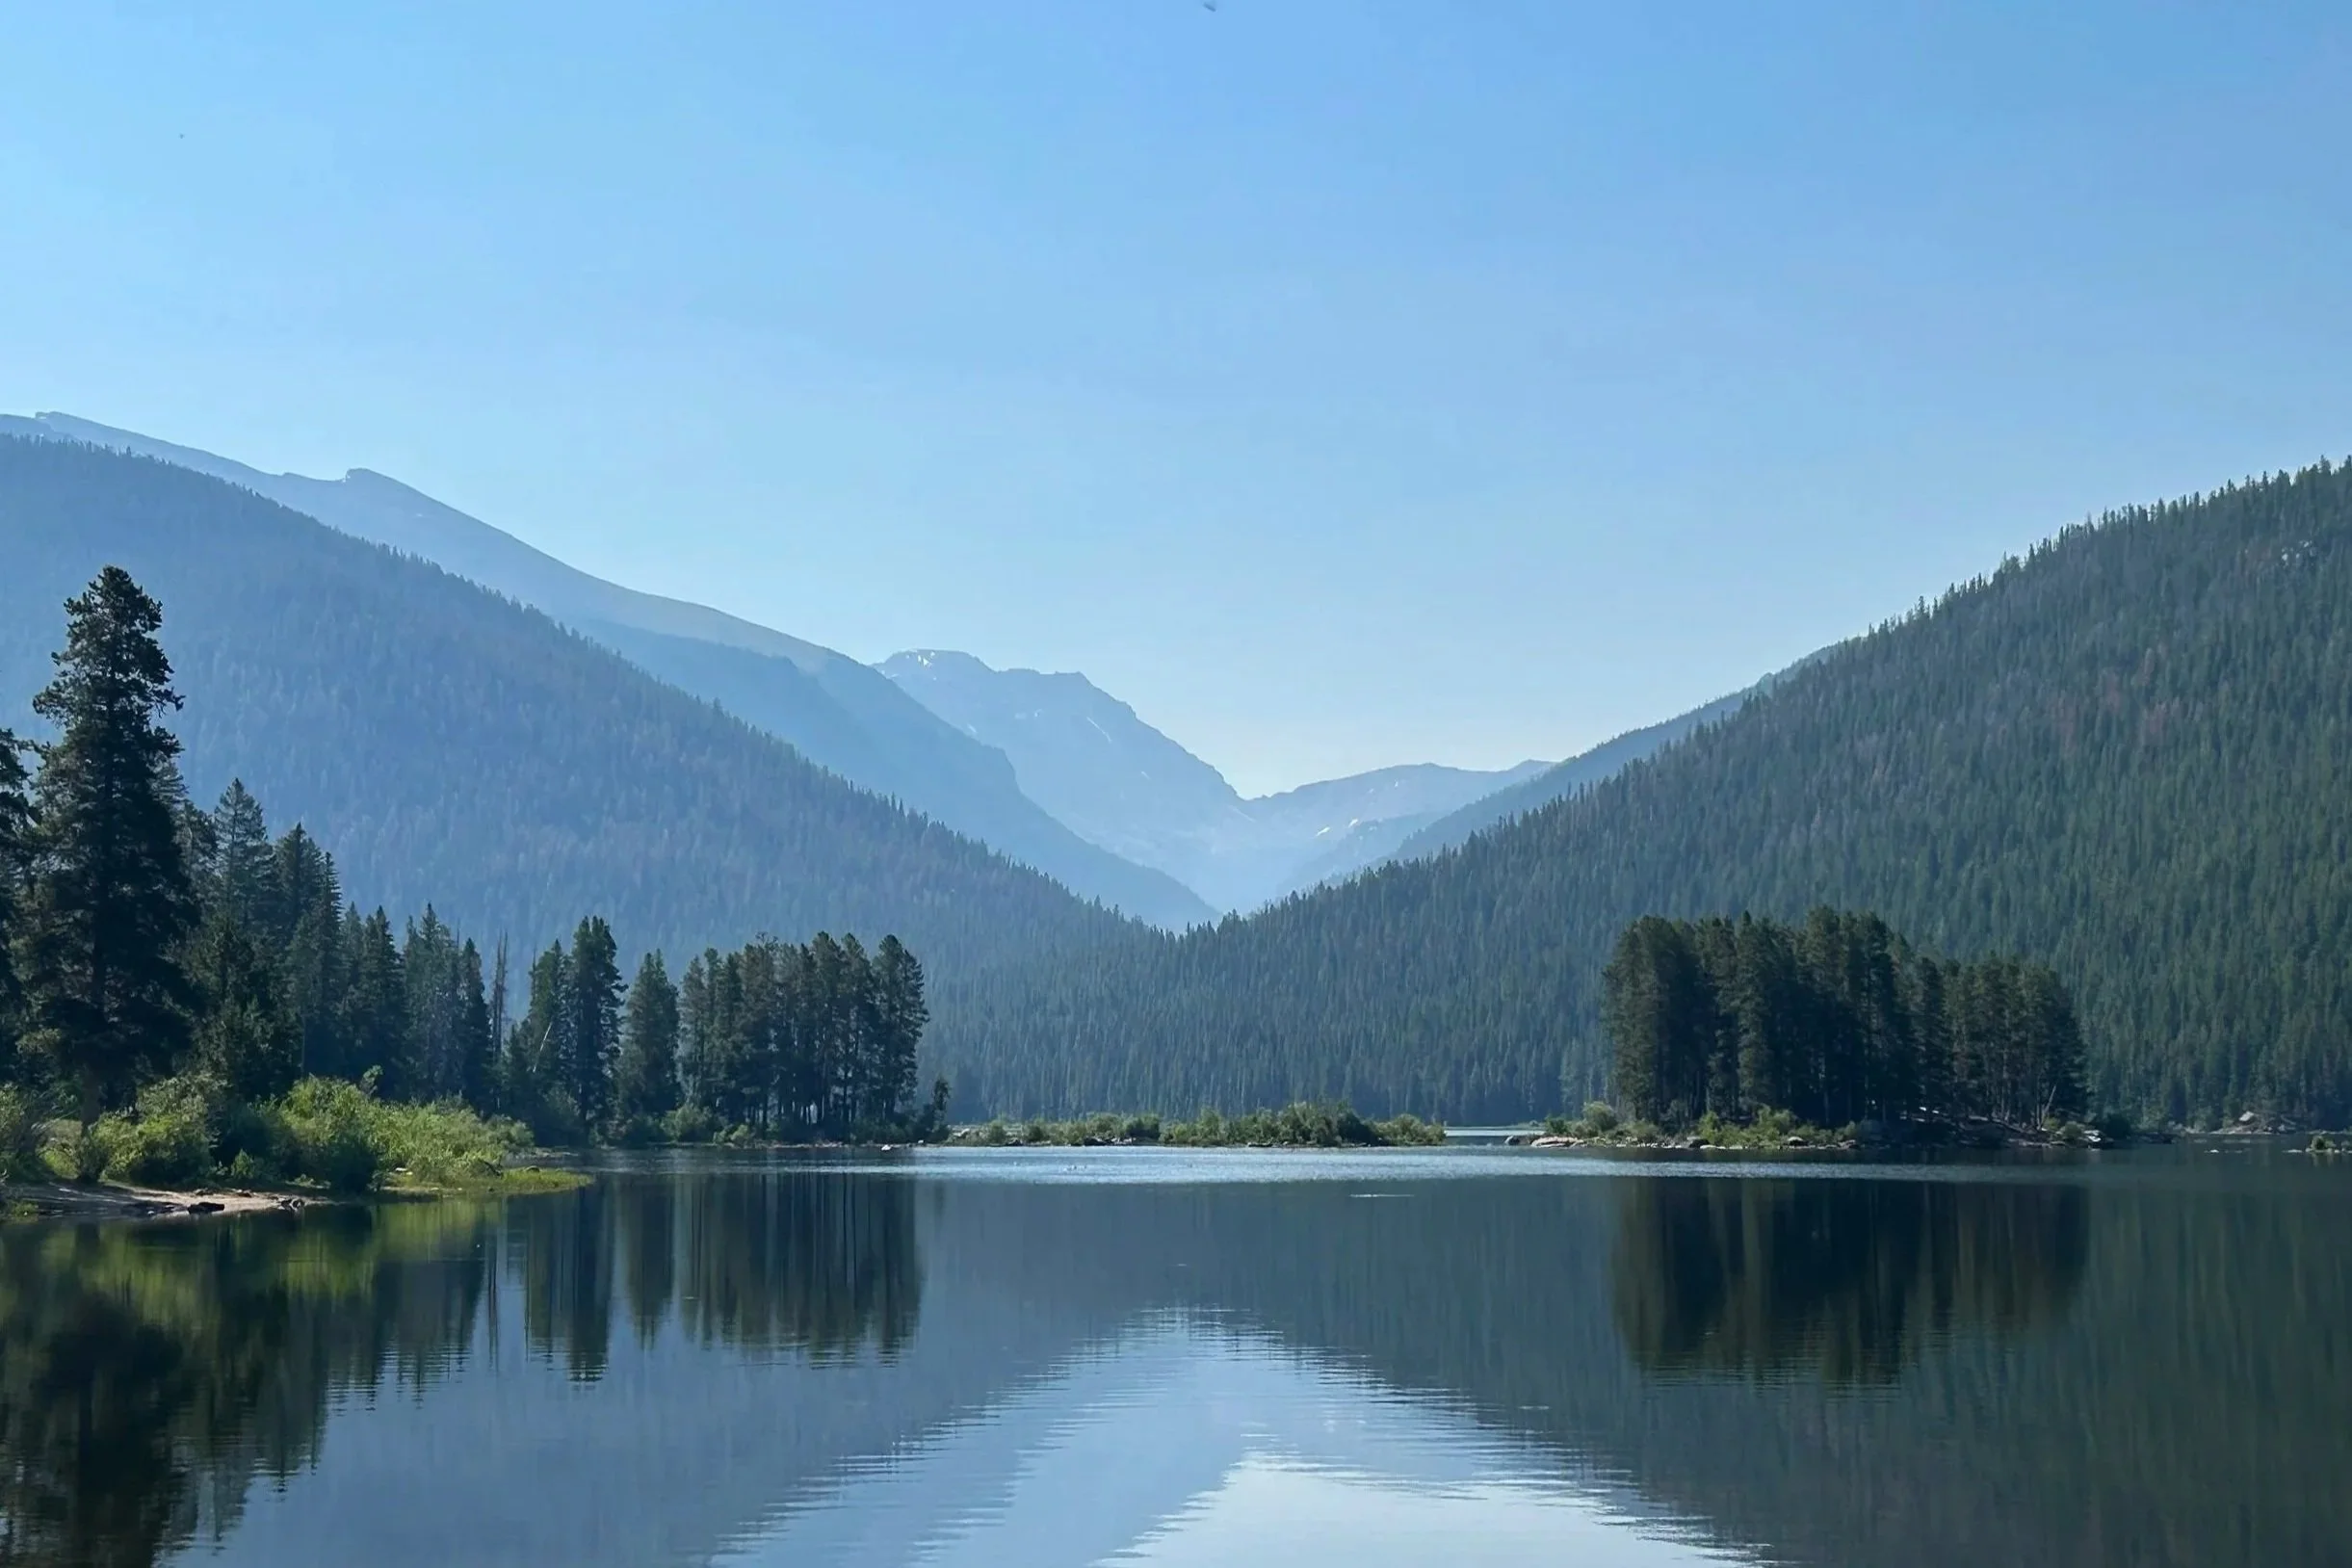
I chose to access Crater Lake via the Cascade Creek Trail from Monarch Lake.
Use this AllTrails route information to locate the trailhead start and other trail details:
https://www.alltrails.com/trail/us/colorado/cascade-creek-trail-to-mirror-lake-and-crater-lake
Everything in this guide is based on starting at Monarch Lake near Granby, Colorado.
There are a few different ways to reach Lone Eagle Peak, but this route seemed like the most straightforward and beginner-friendly. And, it’s such a beautiful way to start the hike!
If you're planning to use another trail, you'll want to research the permit requirements and campsite locations separately.
Step 2. Reserve Your Indian Peaks Wilderness Permit
This is the most important and most confusing part of planning your hike, but I’ve summarized everything you need to know below.
If you're camping overnight, you'll need an Indian Peaks Wilderness Overnight Permit.
Purchase permits through Recreation.gov: https://www.recreation.gov/permits/4675318
When making your reservation:
Select West of the Continental Divide
Enter your group size
Select your camping dates
Choose Monarch Lake as your entry and exit point (if using this route)
Download or print your permit before arriving
When to make a reservation
Since this is a very popular backpacking destination in Colorado, reservations fill up extremely fast.
For the 2026 season, permits opened for the full season in advanced on March 3rd at 8:00am.
When I booked my permit reservation, nearly every weekend permit was gone within about 30 minutes after it opened.
I would recommend setting a reminder on your calendar to log on to the recreation.gov website when the registration opens so you can claim your desired entry time asap.
Don’t panic if you’ve missed the early registration window—there is another option!
During the summer, you can also check the "3 Day in Advance" permits for additional availability. These are the remaining permits that are released to the public 3 days before your hiking date.
You will still need to log on early in the morning (or at midnight) to claim your spot. These sites are very competitive.
How the Permit Quota Works
Indian Peaks Wilderness limits the number of backpackers camping in each Backcountry Zone every night to help protect the area.
Each zone has a set number of overnight permits available, and only one large group (8–12 people) is allowed per zone each night.
About 75% of permits are released when reservations open for the season, while the remaining 25% become available three days before your trip.
So if you miss out during the initial permit release, don't give up—you still have a chance to snag a last-minute permit.
Permit Changes
You can modify your reservation before printing your permit. Once it's printed, it becomes final and cannot be changed.
If you need to cancel, you may do so up to seven days before your trip. Although permits are non-refundable, canceling allows another backpacker to enjoy the area.
Step 3. Purchase a Parking Permit at Monarch Lake
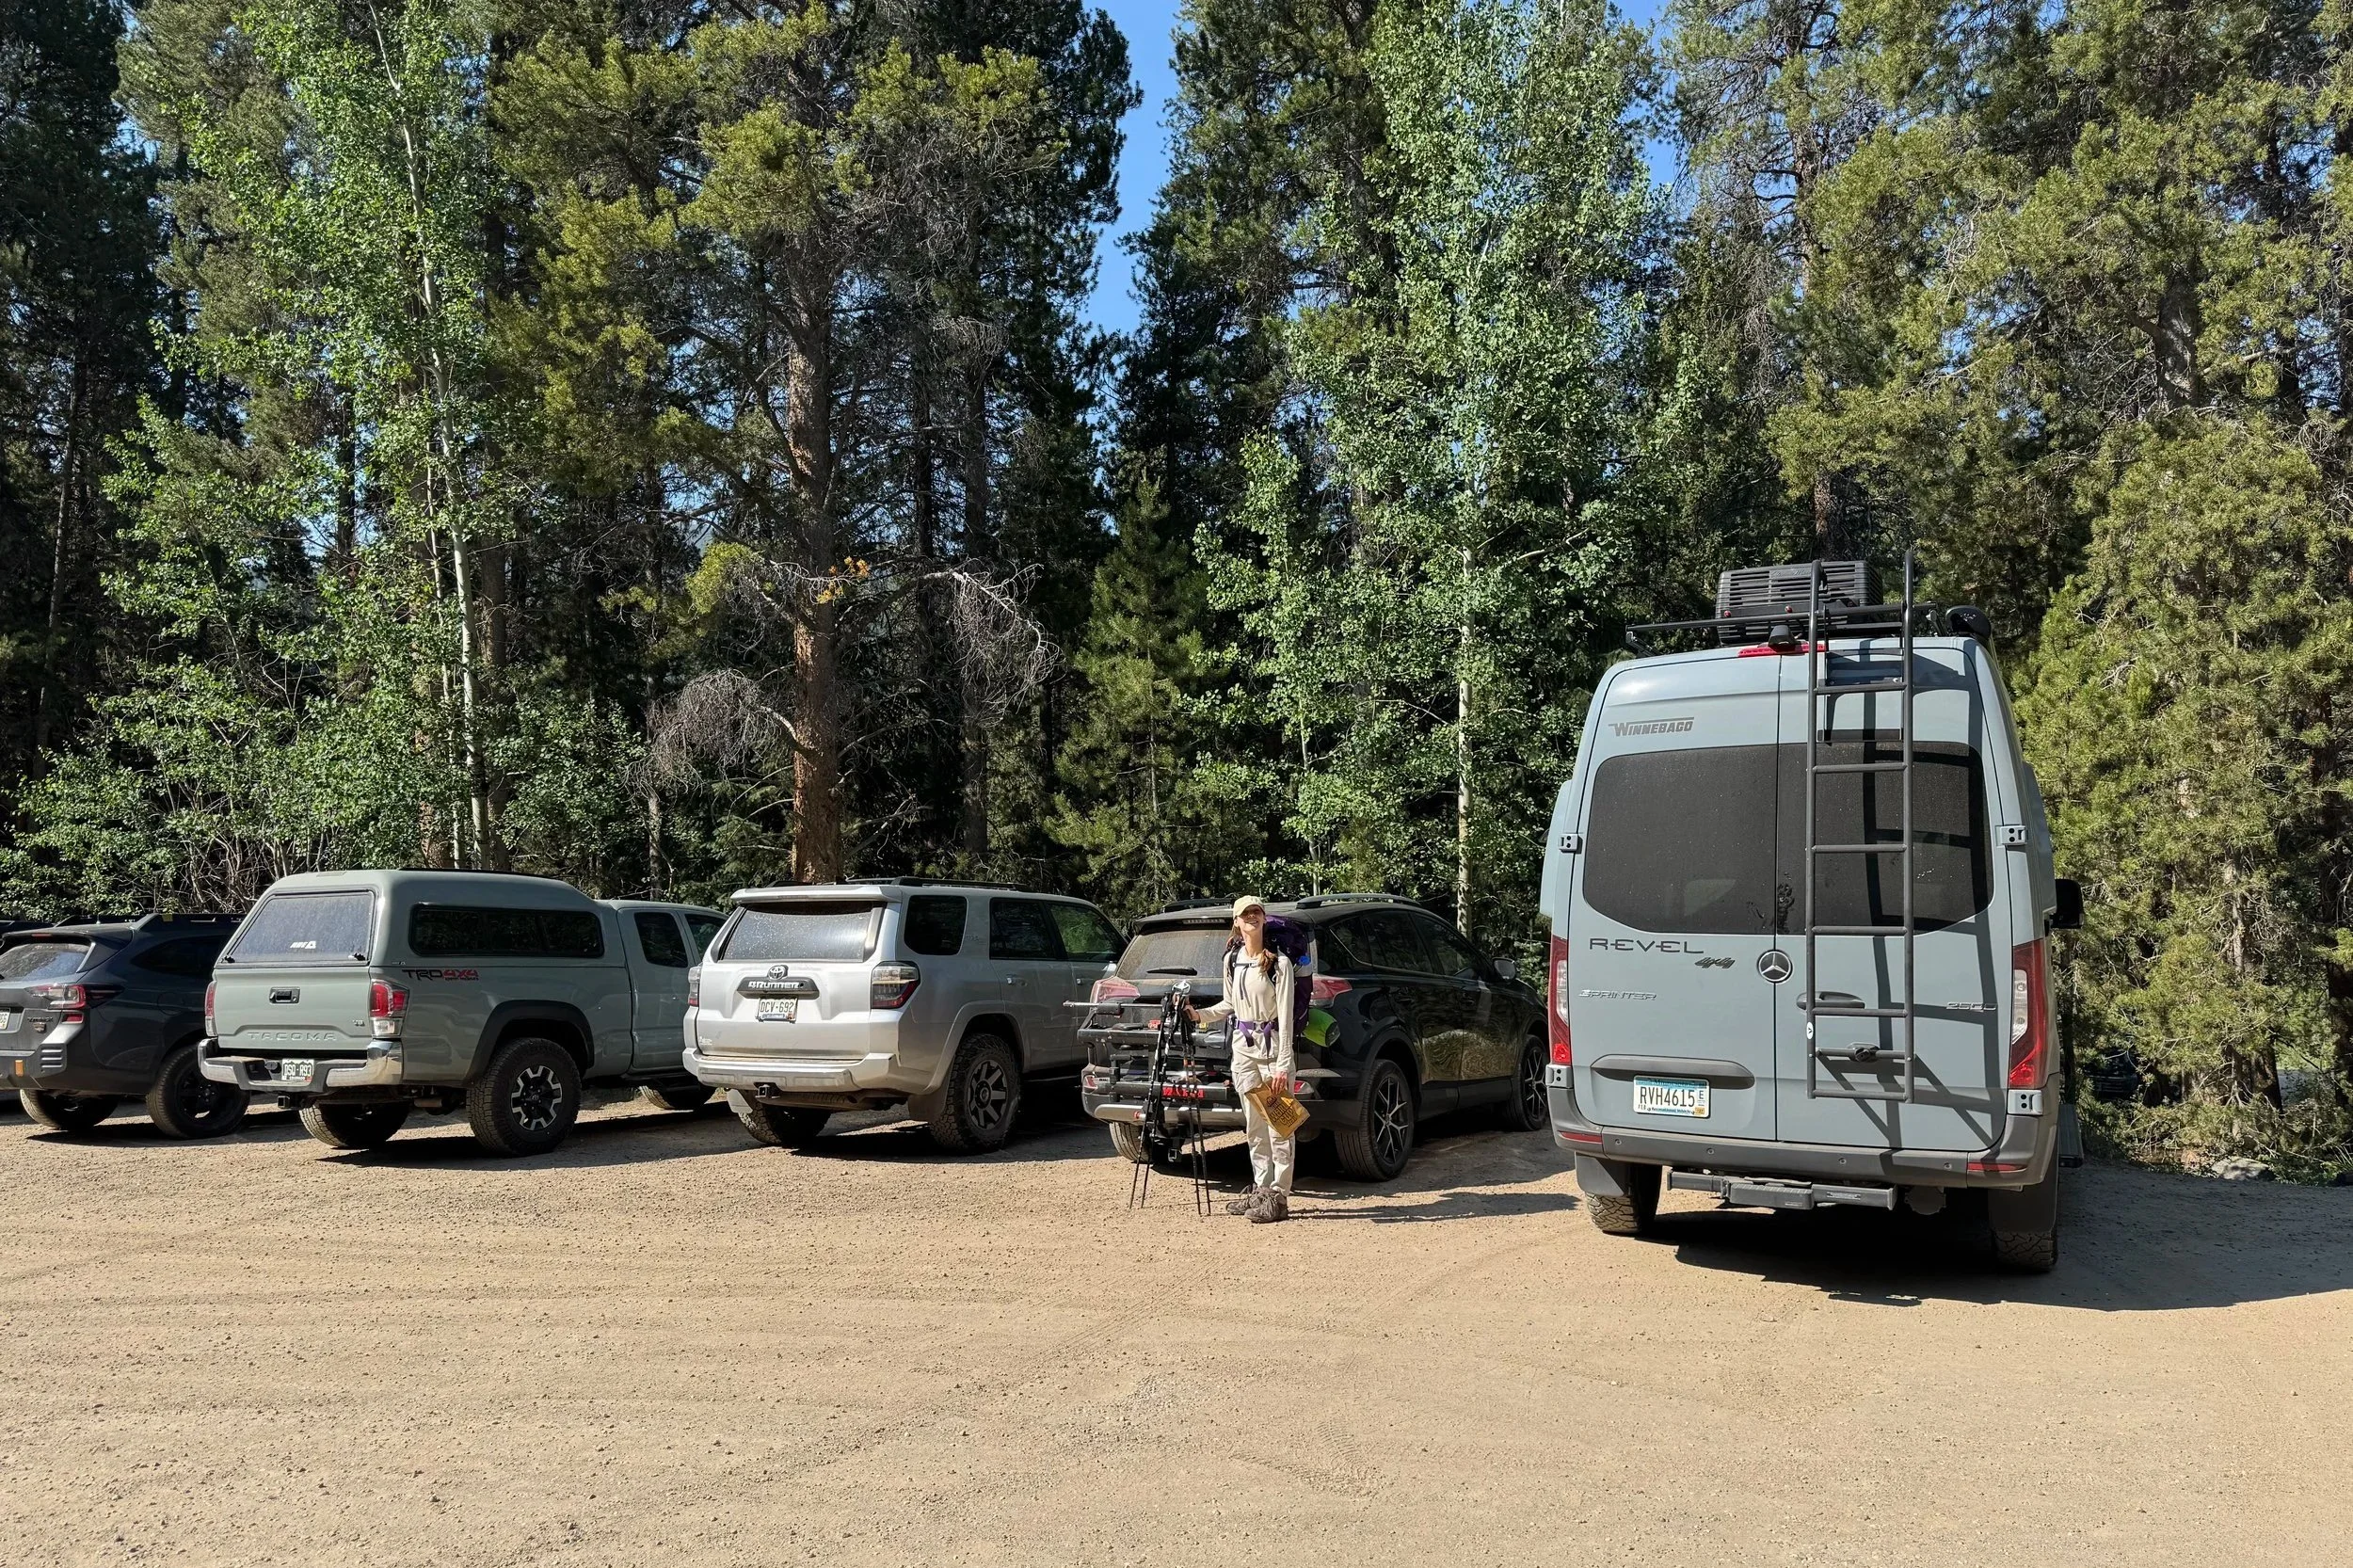
In addition to your wilderness permit, you'll also need a parking reservation for Monarch Lake.
You can purchase a parking pass before your trip here: https://www.recreation.gov/activitypass/ed5a5e18-64c9-11eb-b2a1-ce9547b3d27e/order
One thing to know is that a parking permit does not guarantee an actual parking spot—it simply allows you to park if space is available.
We originally planned to purchase ours in person but accidentally drove past the station. We were later told they don't always check, but I'd still recommend purchasing a reservation so you're following current regulations.
If you’ve completed steps 1 through 3, you have everything you need to hike this route, aside from packing your bags, of course.
Day of Your Hike
Step 4. Arrive at the Trailhead
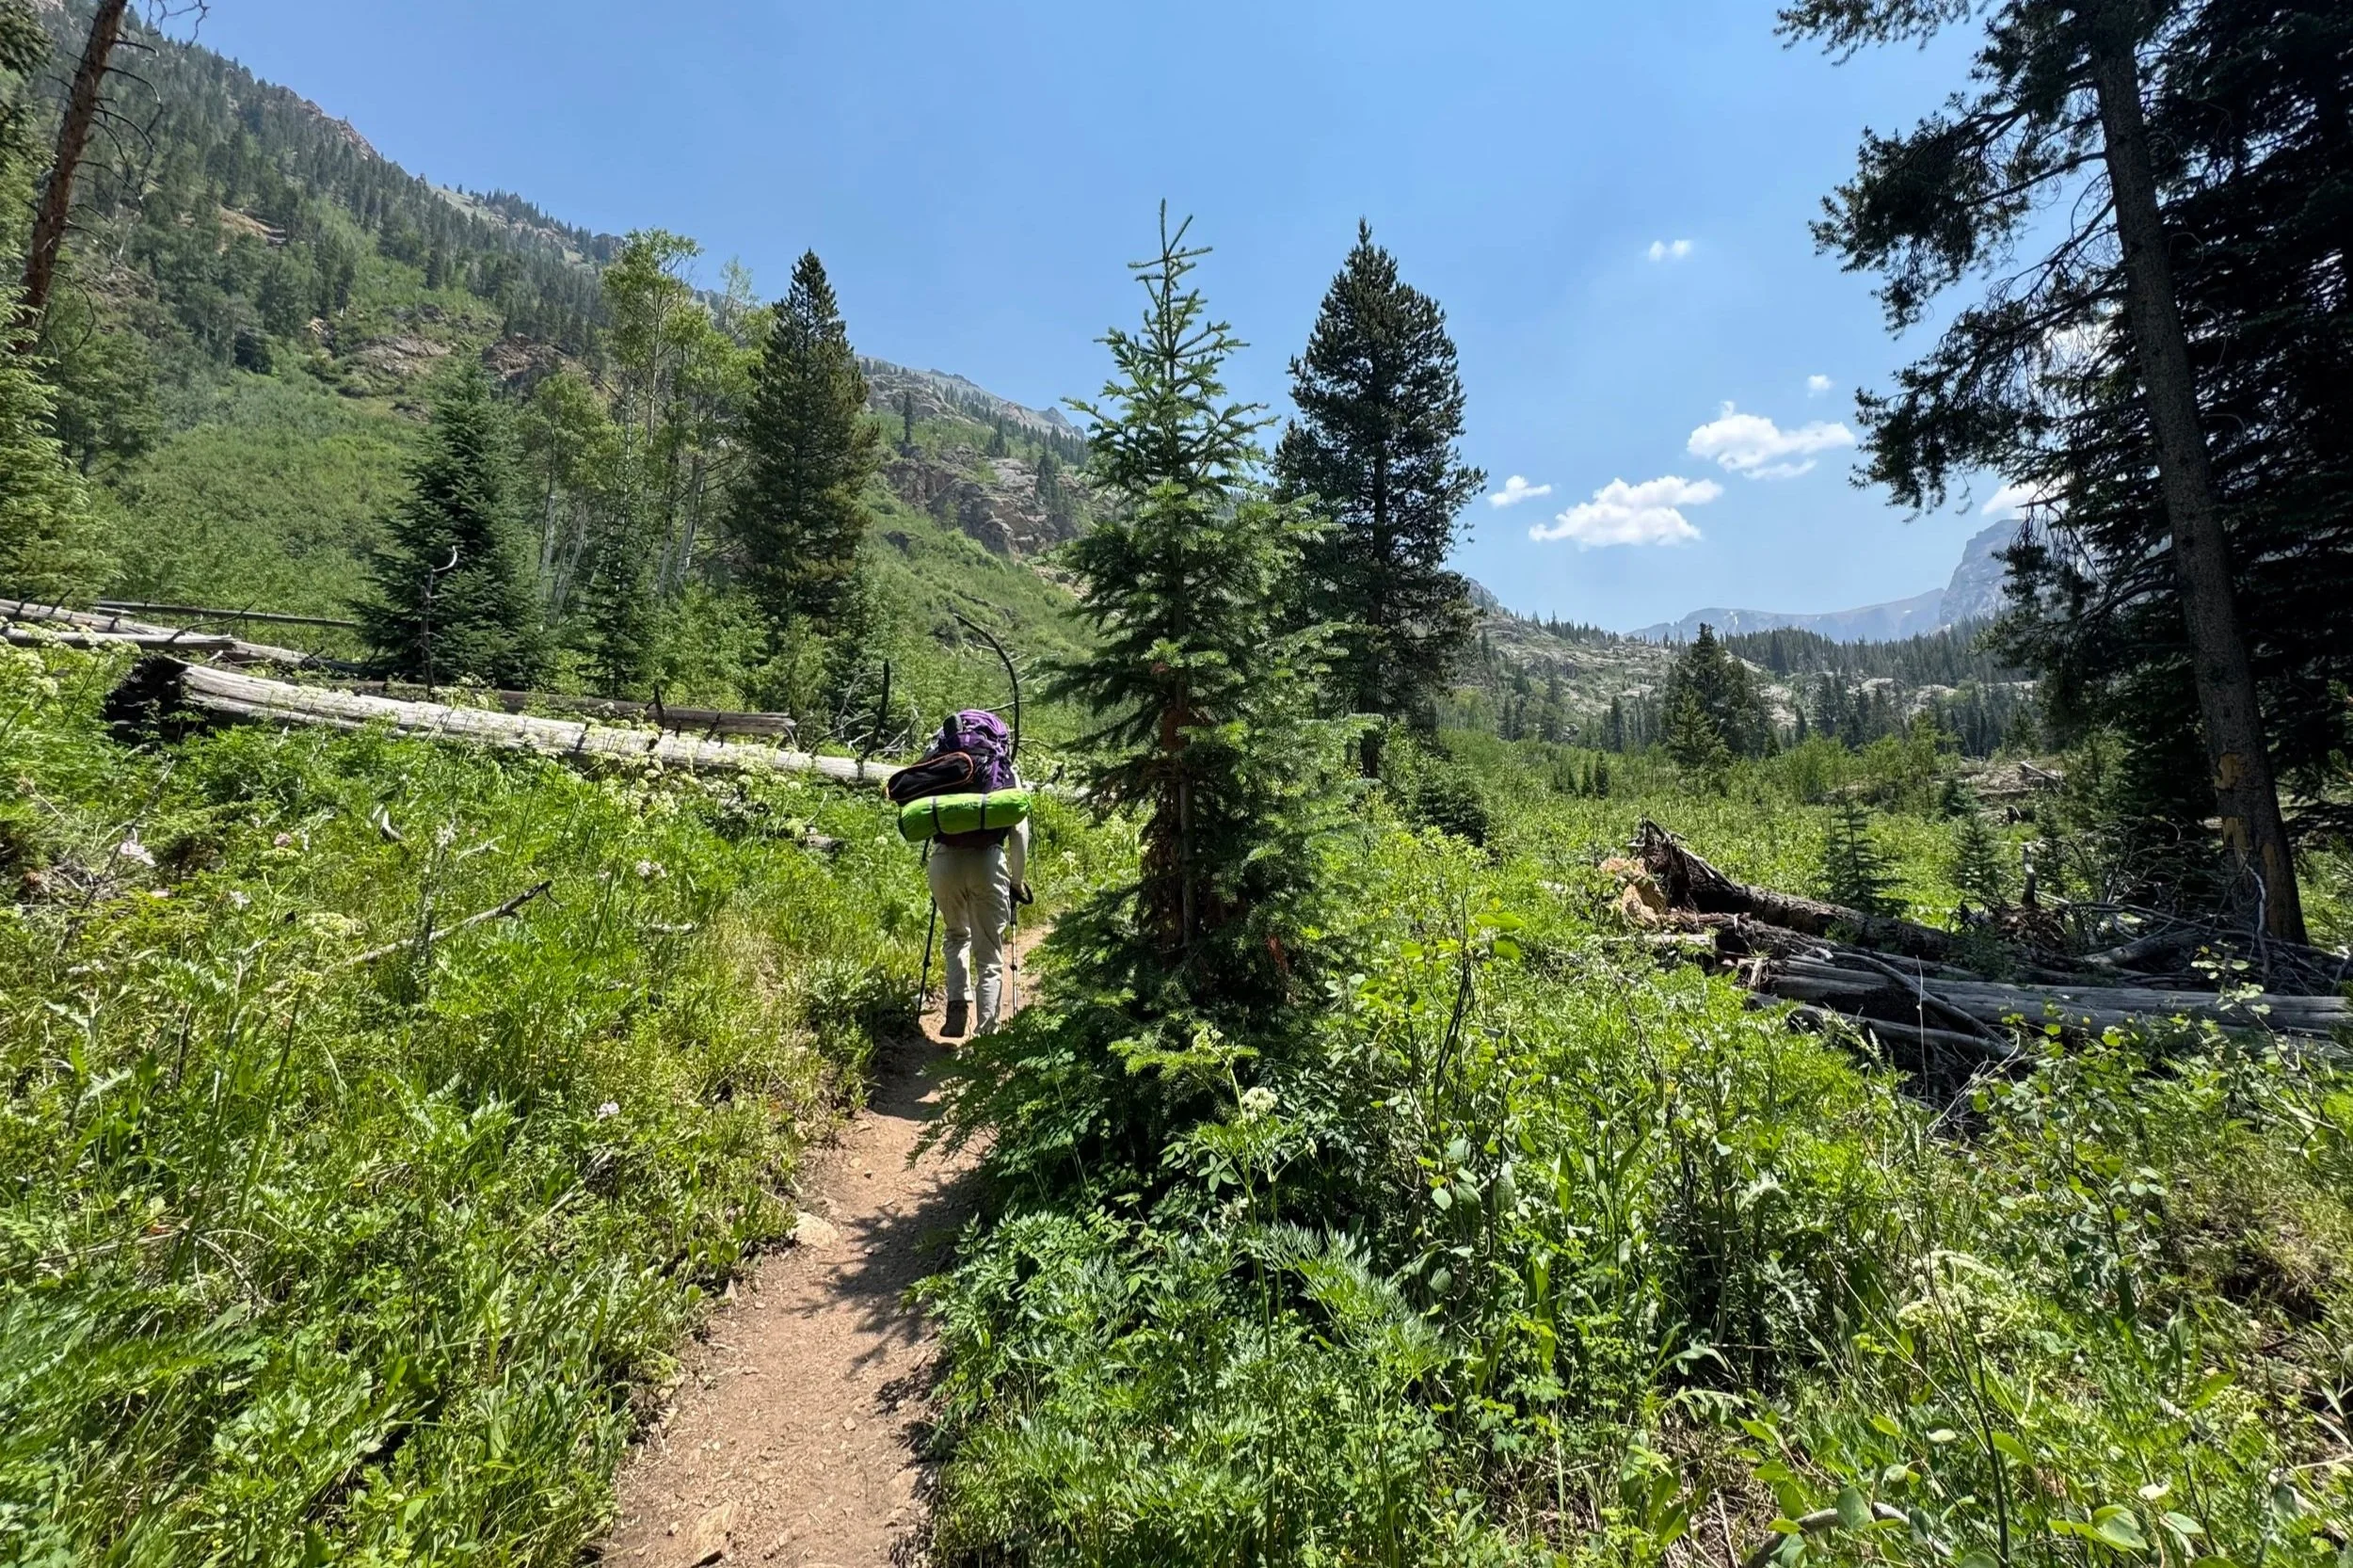
The drive to Monarch Lake includes approximately 20 minutes on County Road 6, a long dirt road that's generally passable for passenger vehicles in good weather, although the road can get very muddy if it rains.
You'll eventually arrive at a large circular parking lot.
If the lot fills, overflow parking is allowed along portions of the road.
I visited on a Wednesday around 9:30 AM and had no trouble finding parking. On weekends, however, I'd recommend arriving much earlier since this is an incredibly popular backpacking destination.
There is an outhouse at the start of the trailhead, so you can use the restroom before you begin your hike, which is always a nice bonus.
Before leaving home:
Download or print your permit.
Review Indian Peaks Wilderness regulations.
Double-check your backpacking gear and make sure you have enough food, navigation, and water filtration before you start hiking.
Leave early because parking fills quickly, especially on the weekends.
Step 5. Begin Hiking the Trail to Crater Lake
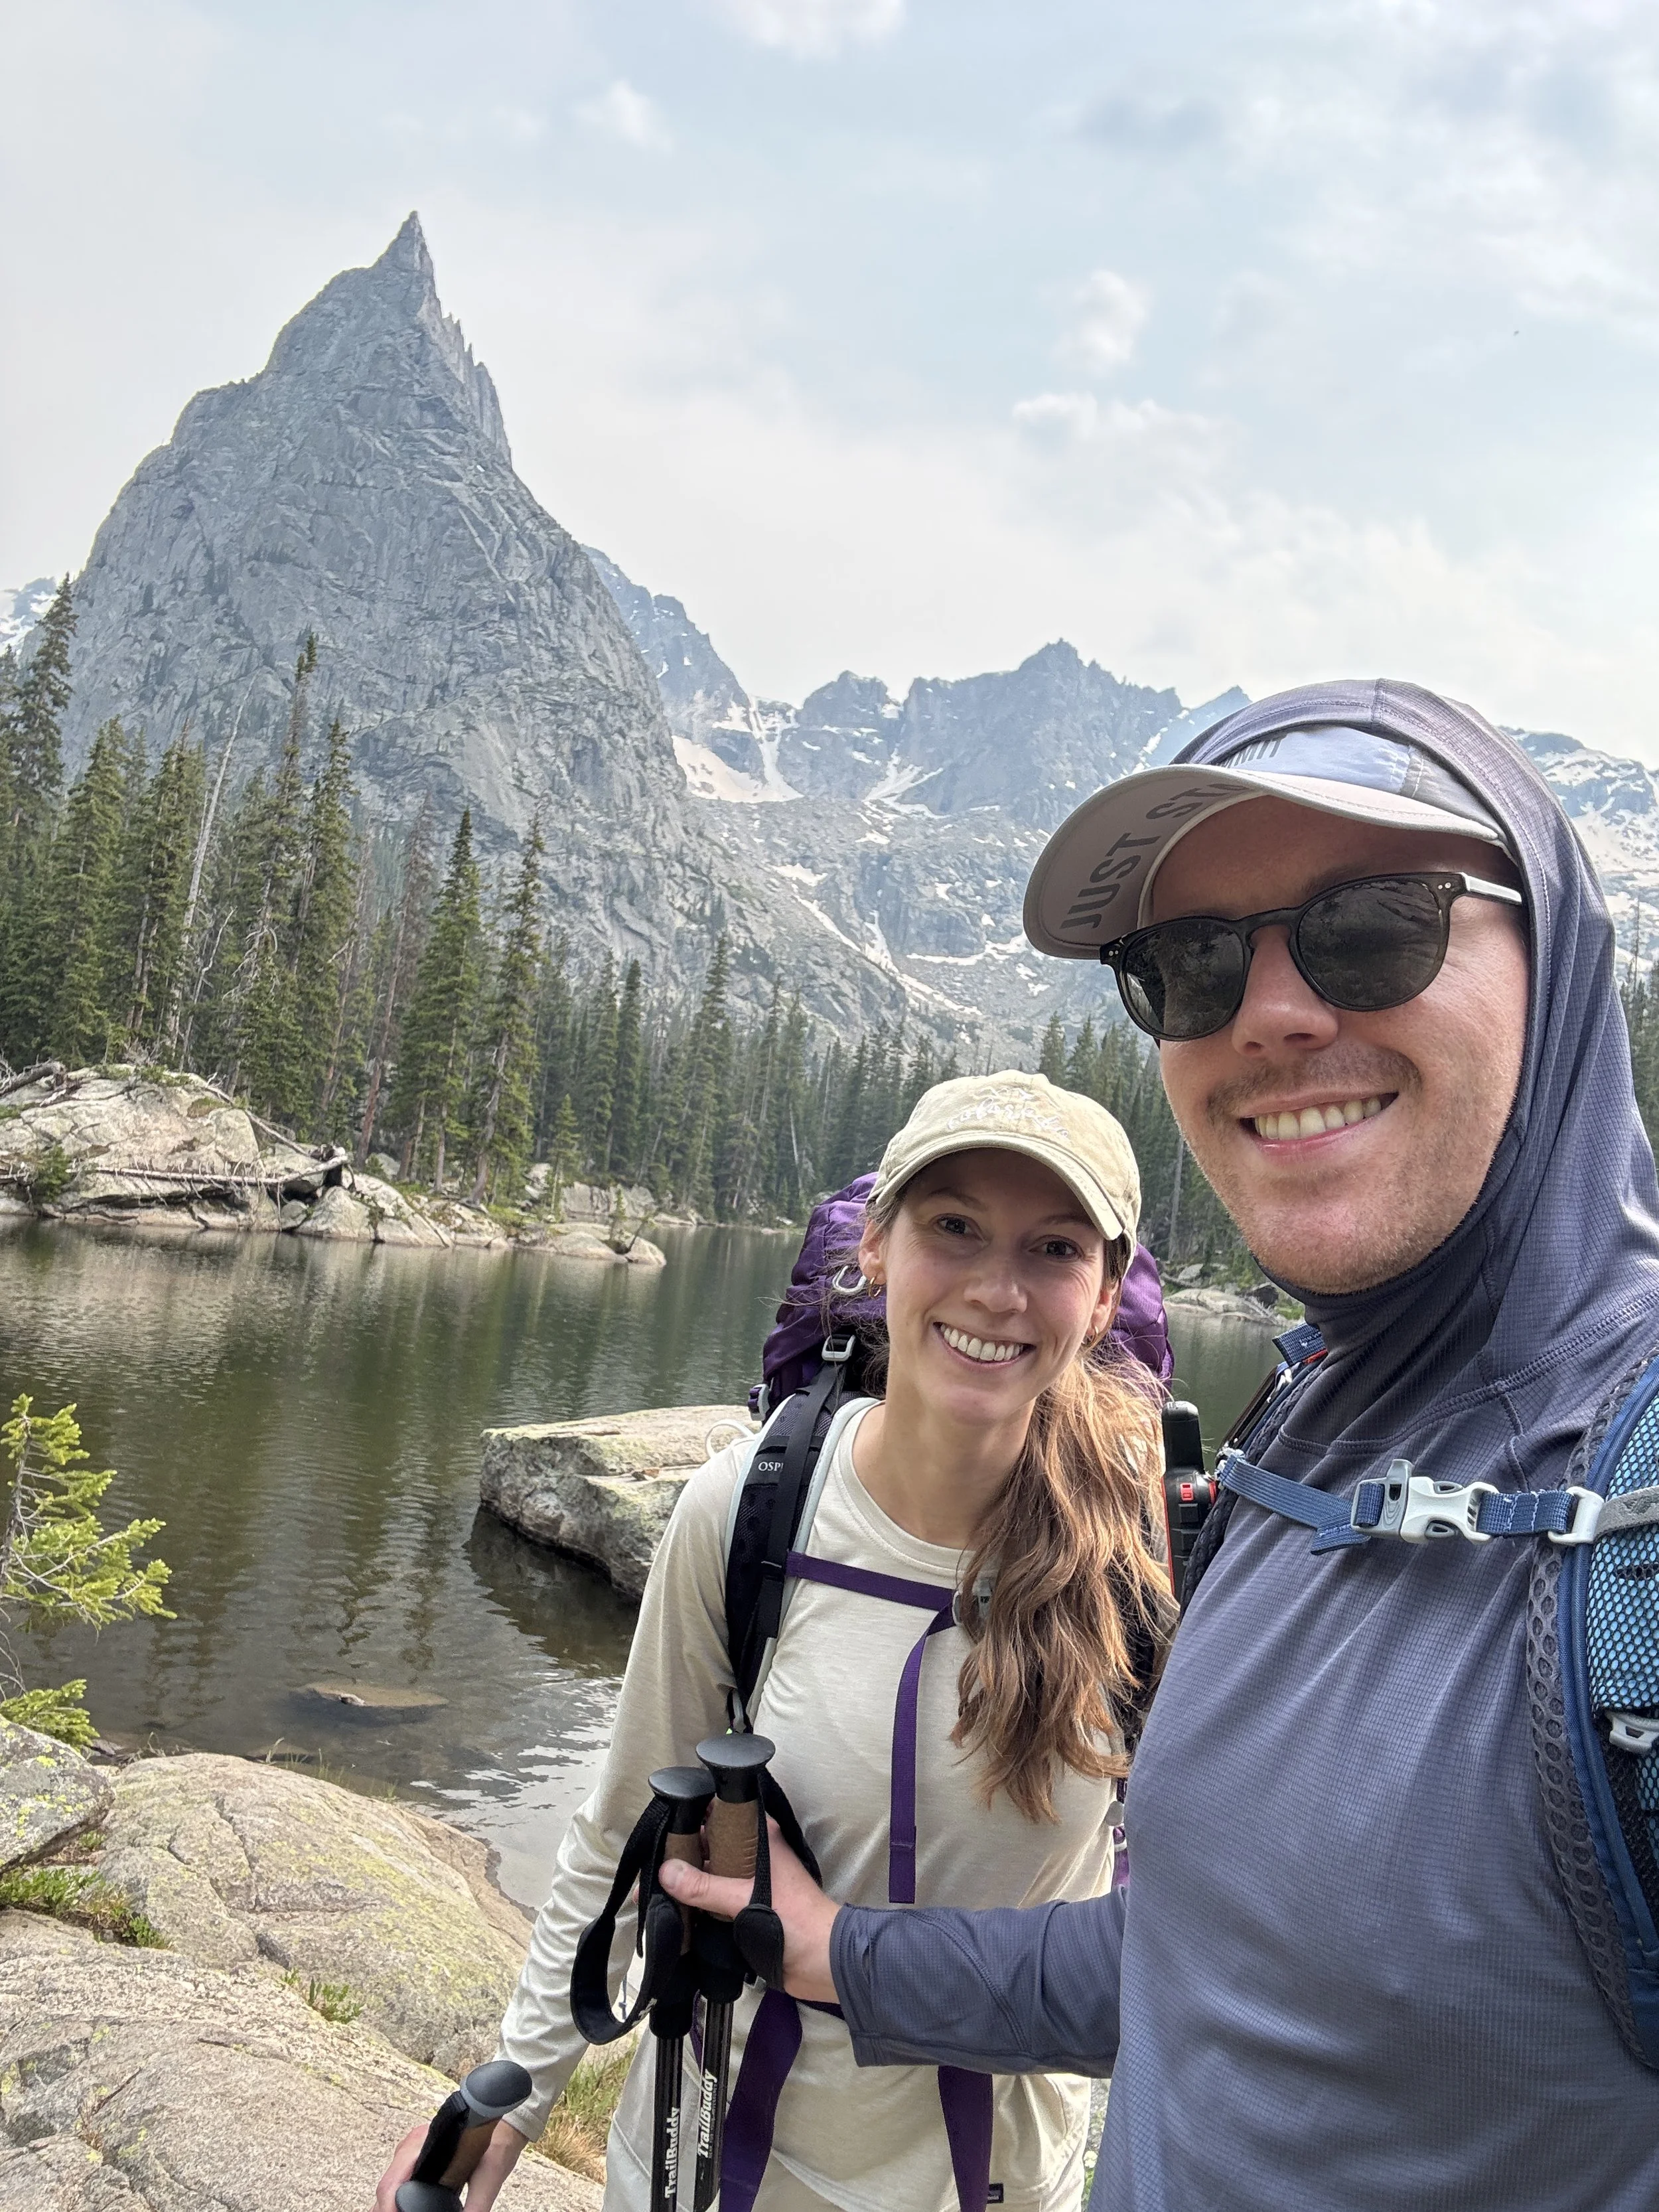
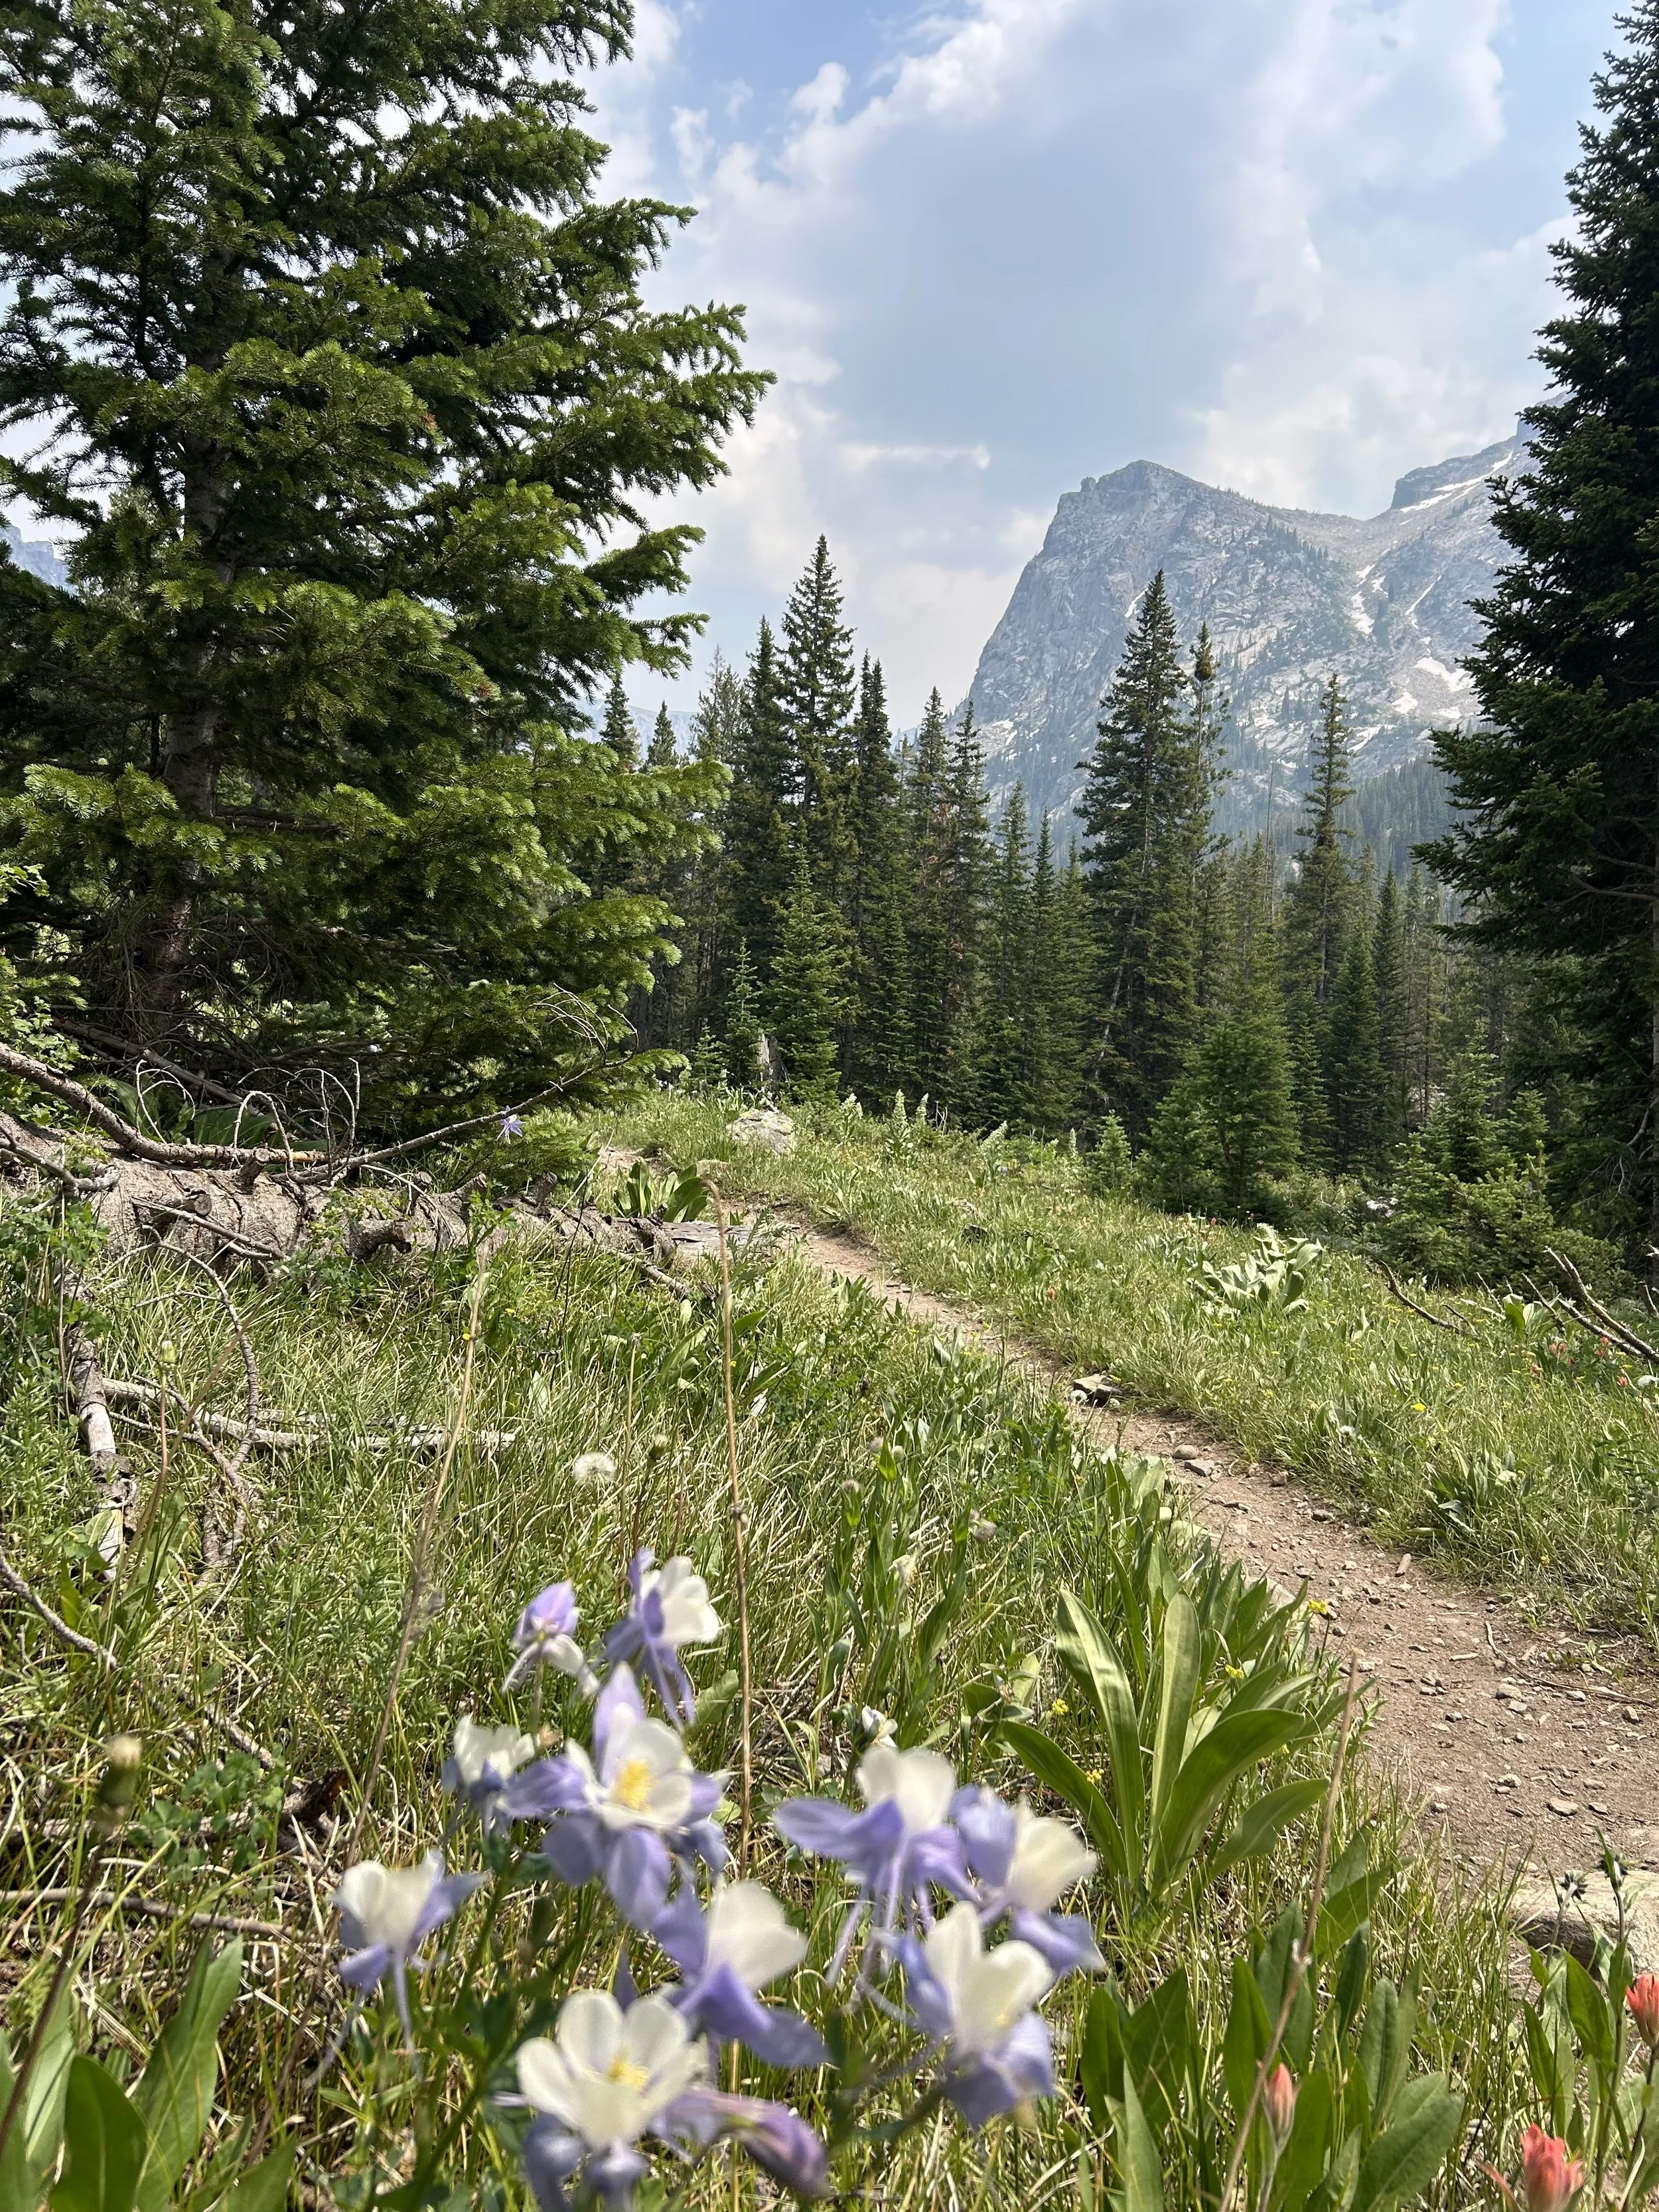
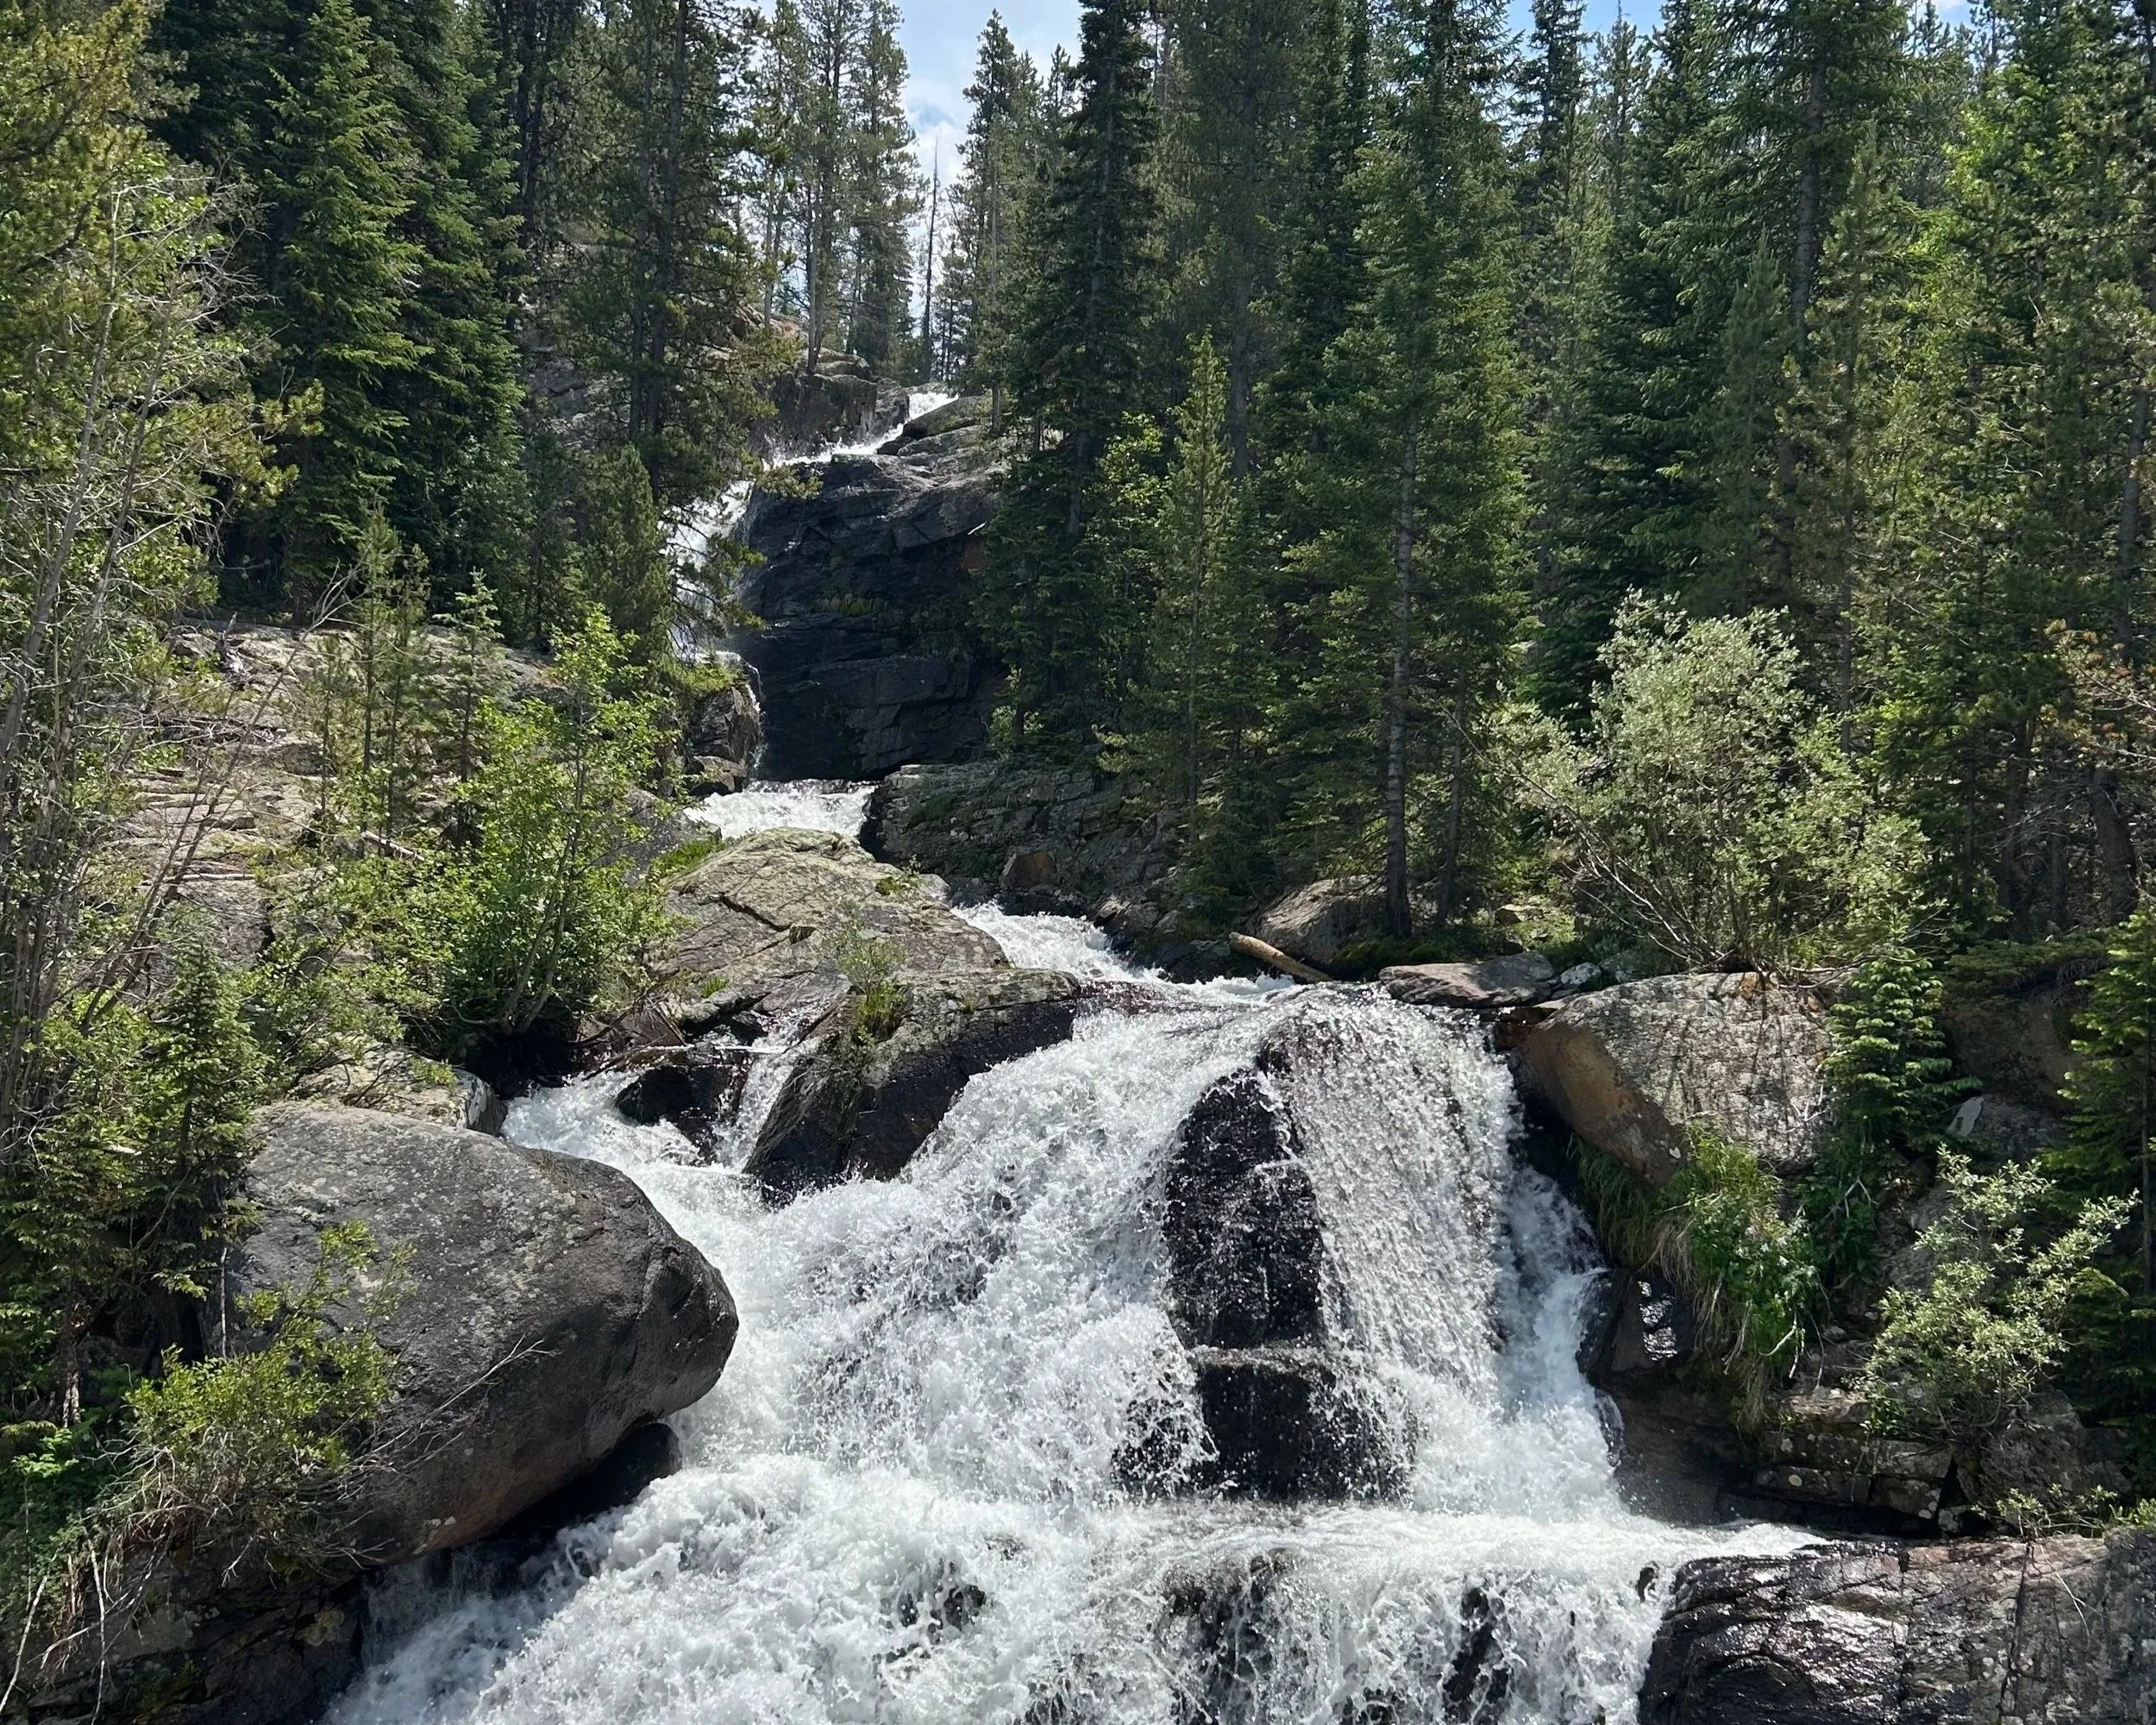
From Monarch Lake, you'll hike approximately eight miles to Crater Lake (according to our GPS tracking it was closer to 9 miles).
The first couple of miles are relatively flat and make for an easy warm-up before the trail gradually begins climbing through the Indian Peaks Wilderness.
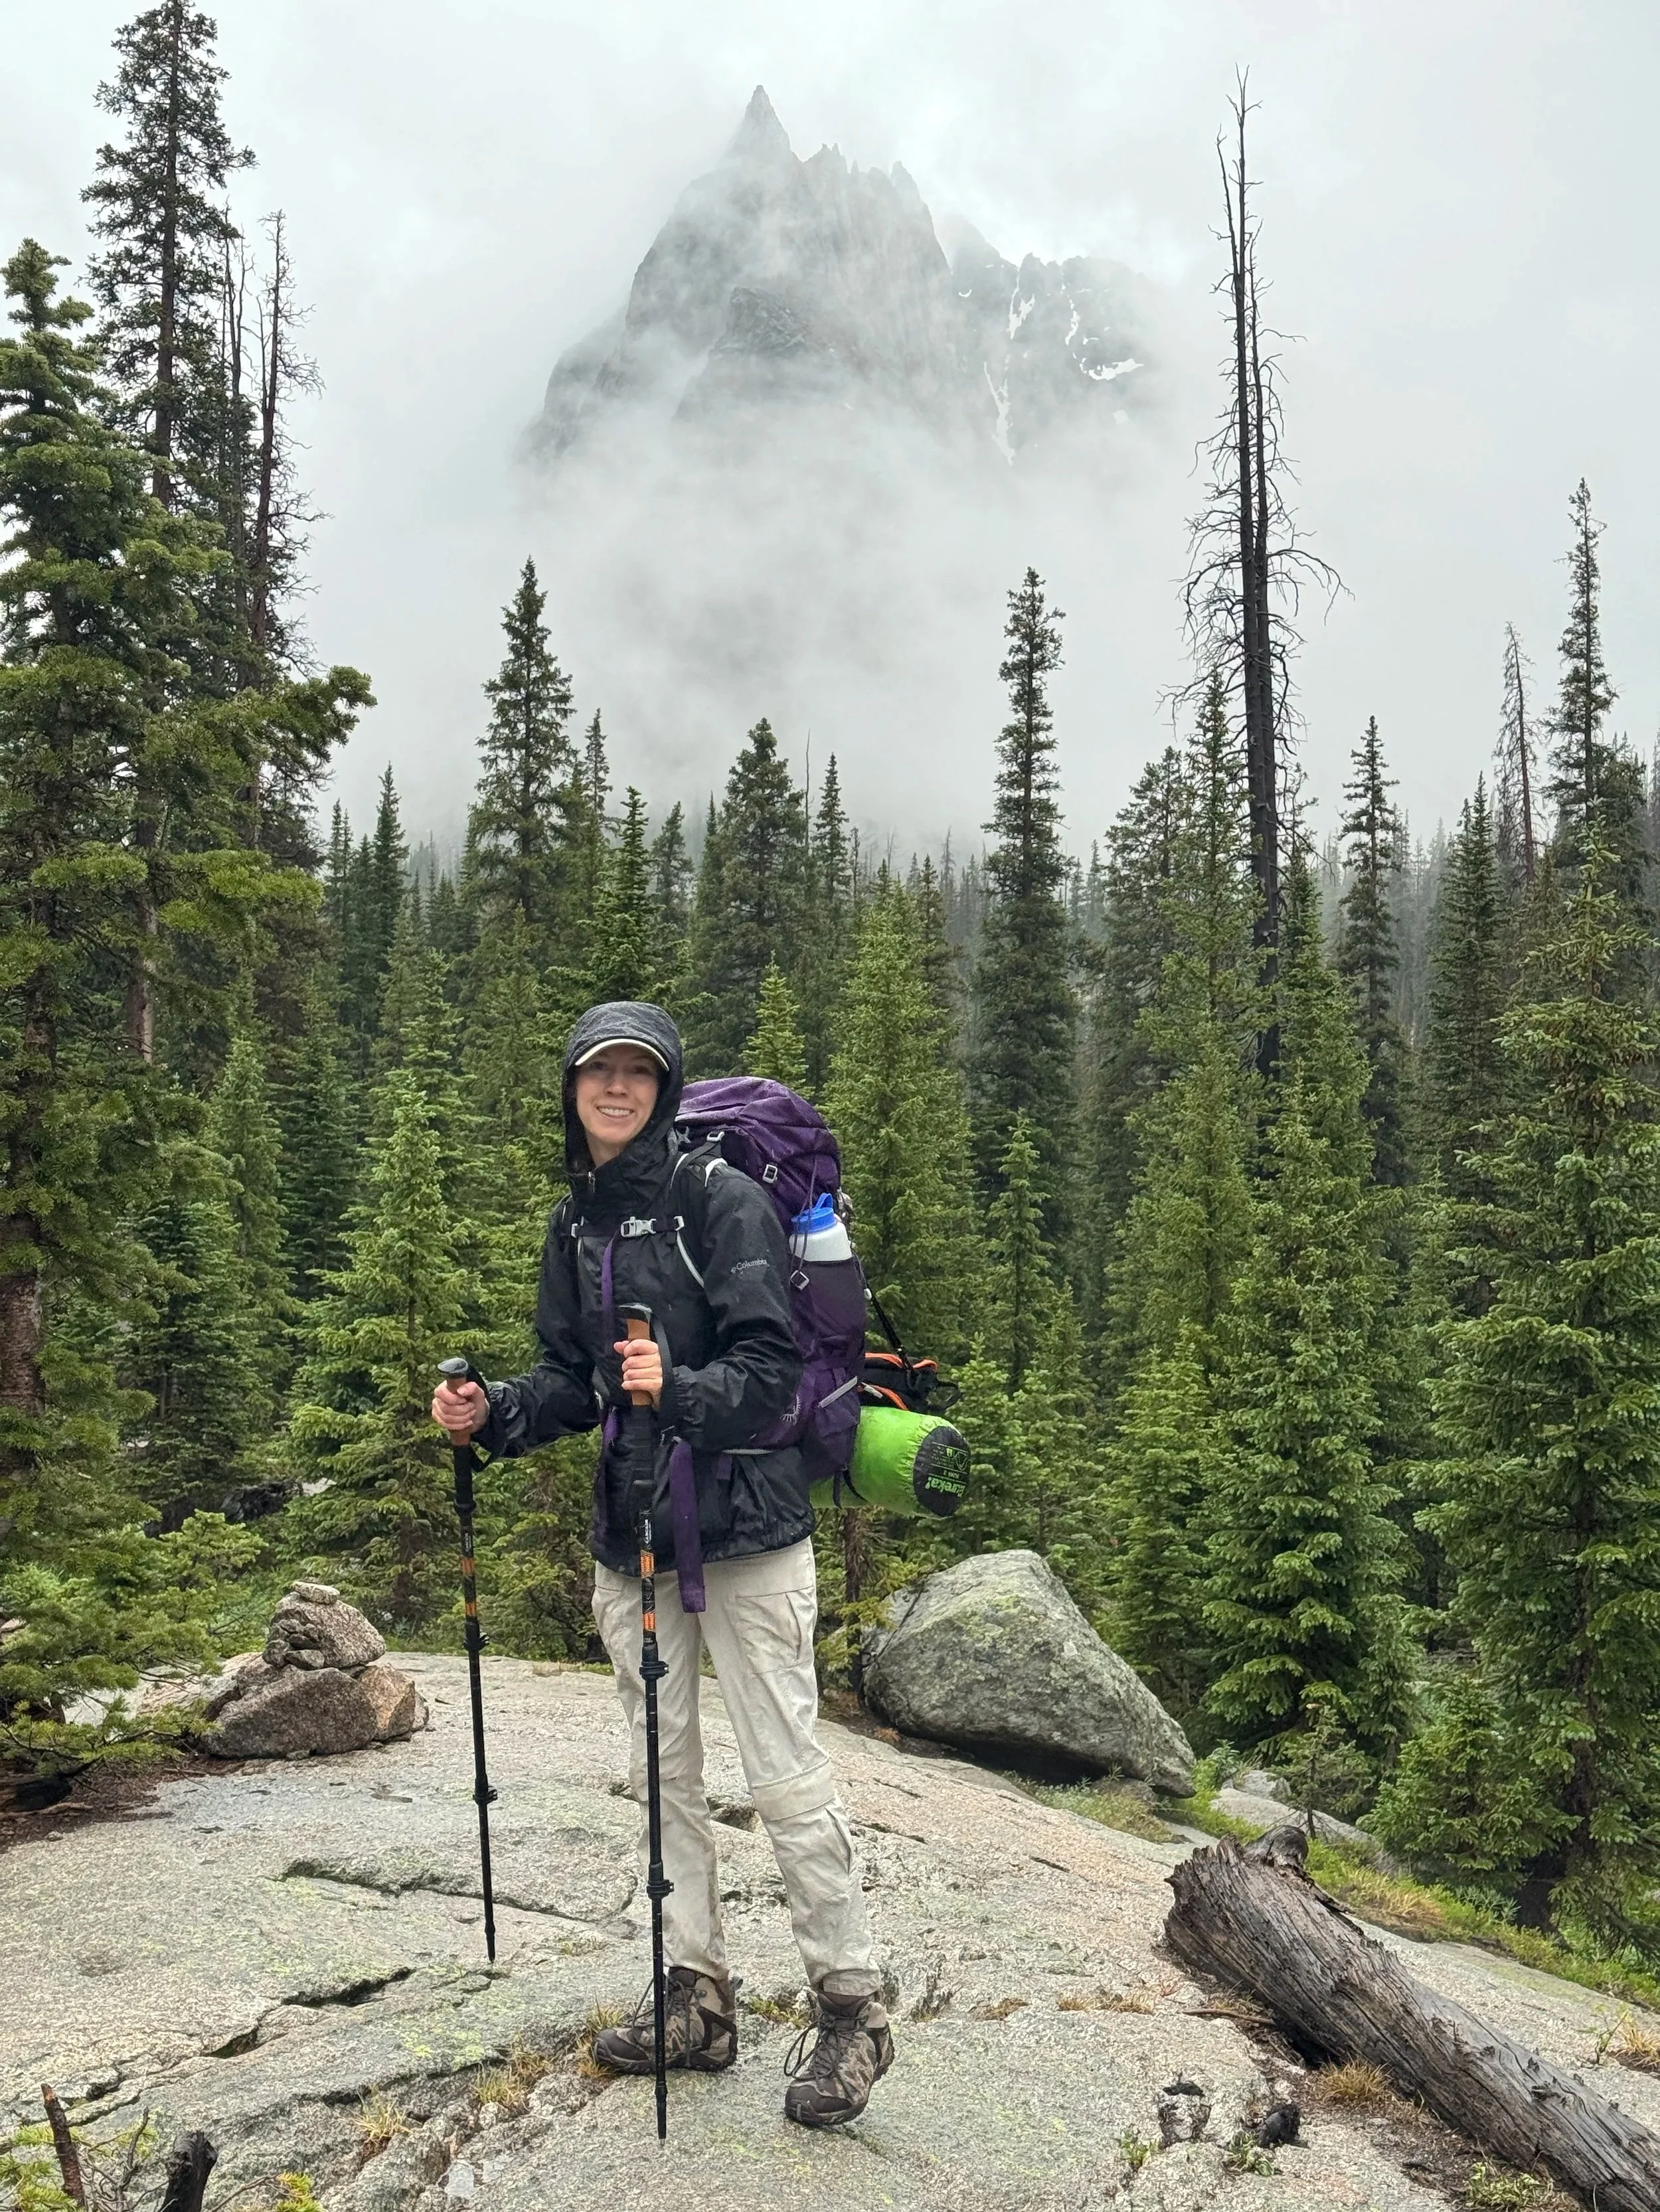
Although there aren't many brutally steep sections, carrying a fully loaded backpack definitely changes the experience. Since this was my first backpacking trip, I found the hike much more physically demanding than I expected.
Thankfully, the scenery keeps getting better as you go.
Along the trail you'll pass:
Beautiful river crossings
Small waterfalls
Wildflower-filled meadows (in summer)
Dense pine forests
The final stretch to Crater Lake is absolutely worth every step.
Step 6. Find Your Campsite (It's Harder Than You'd Think)
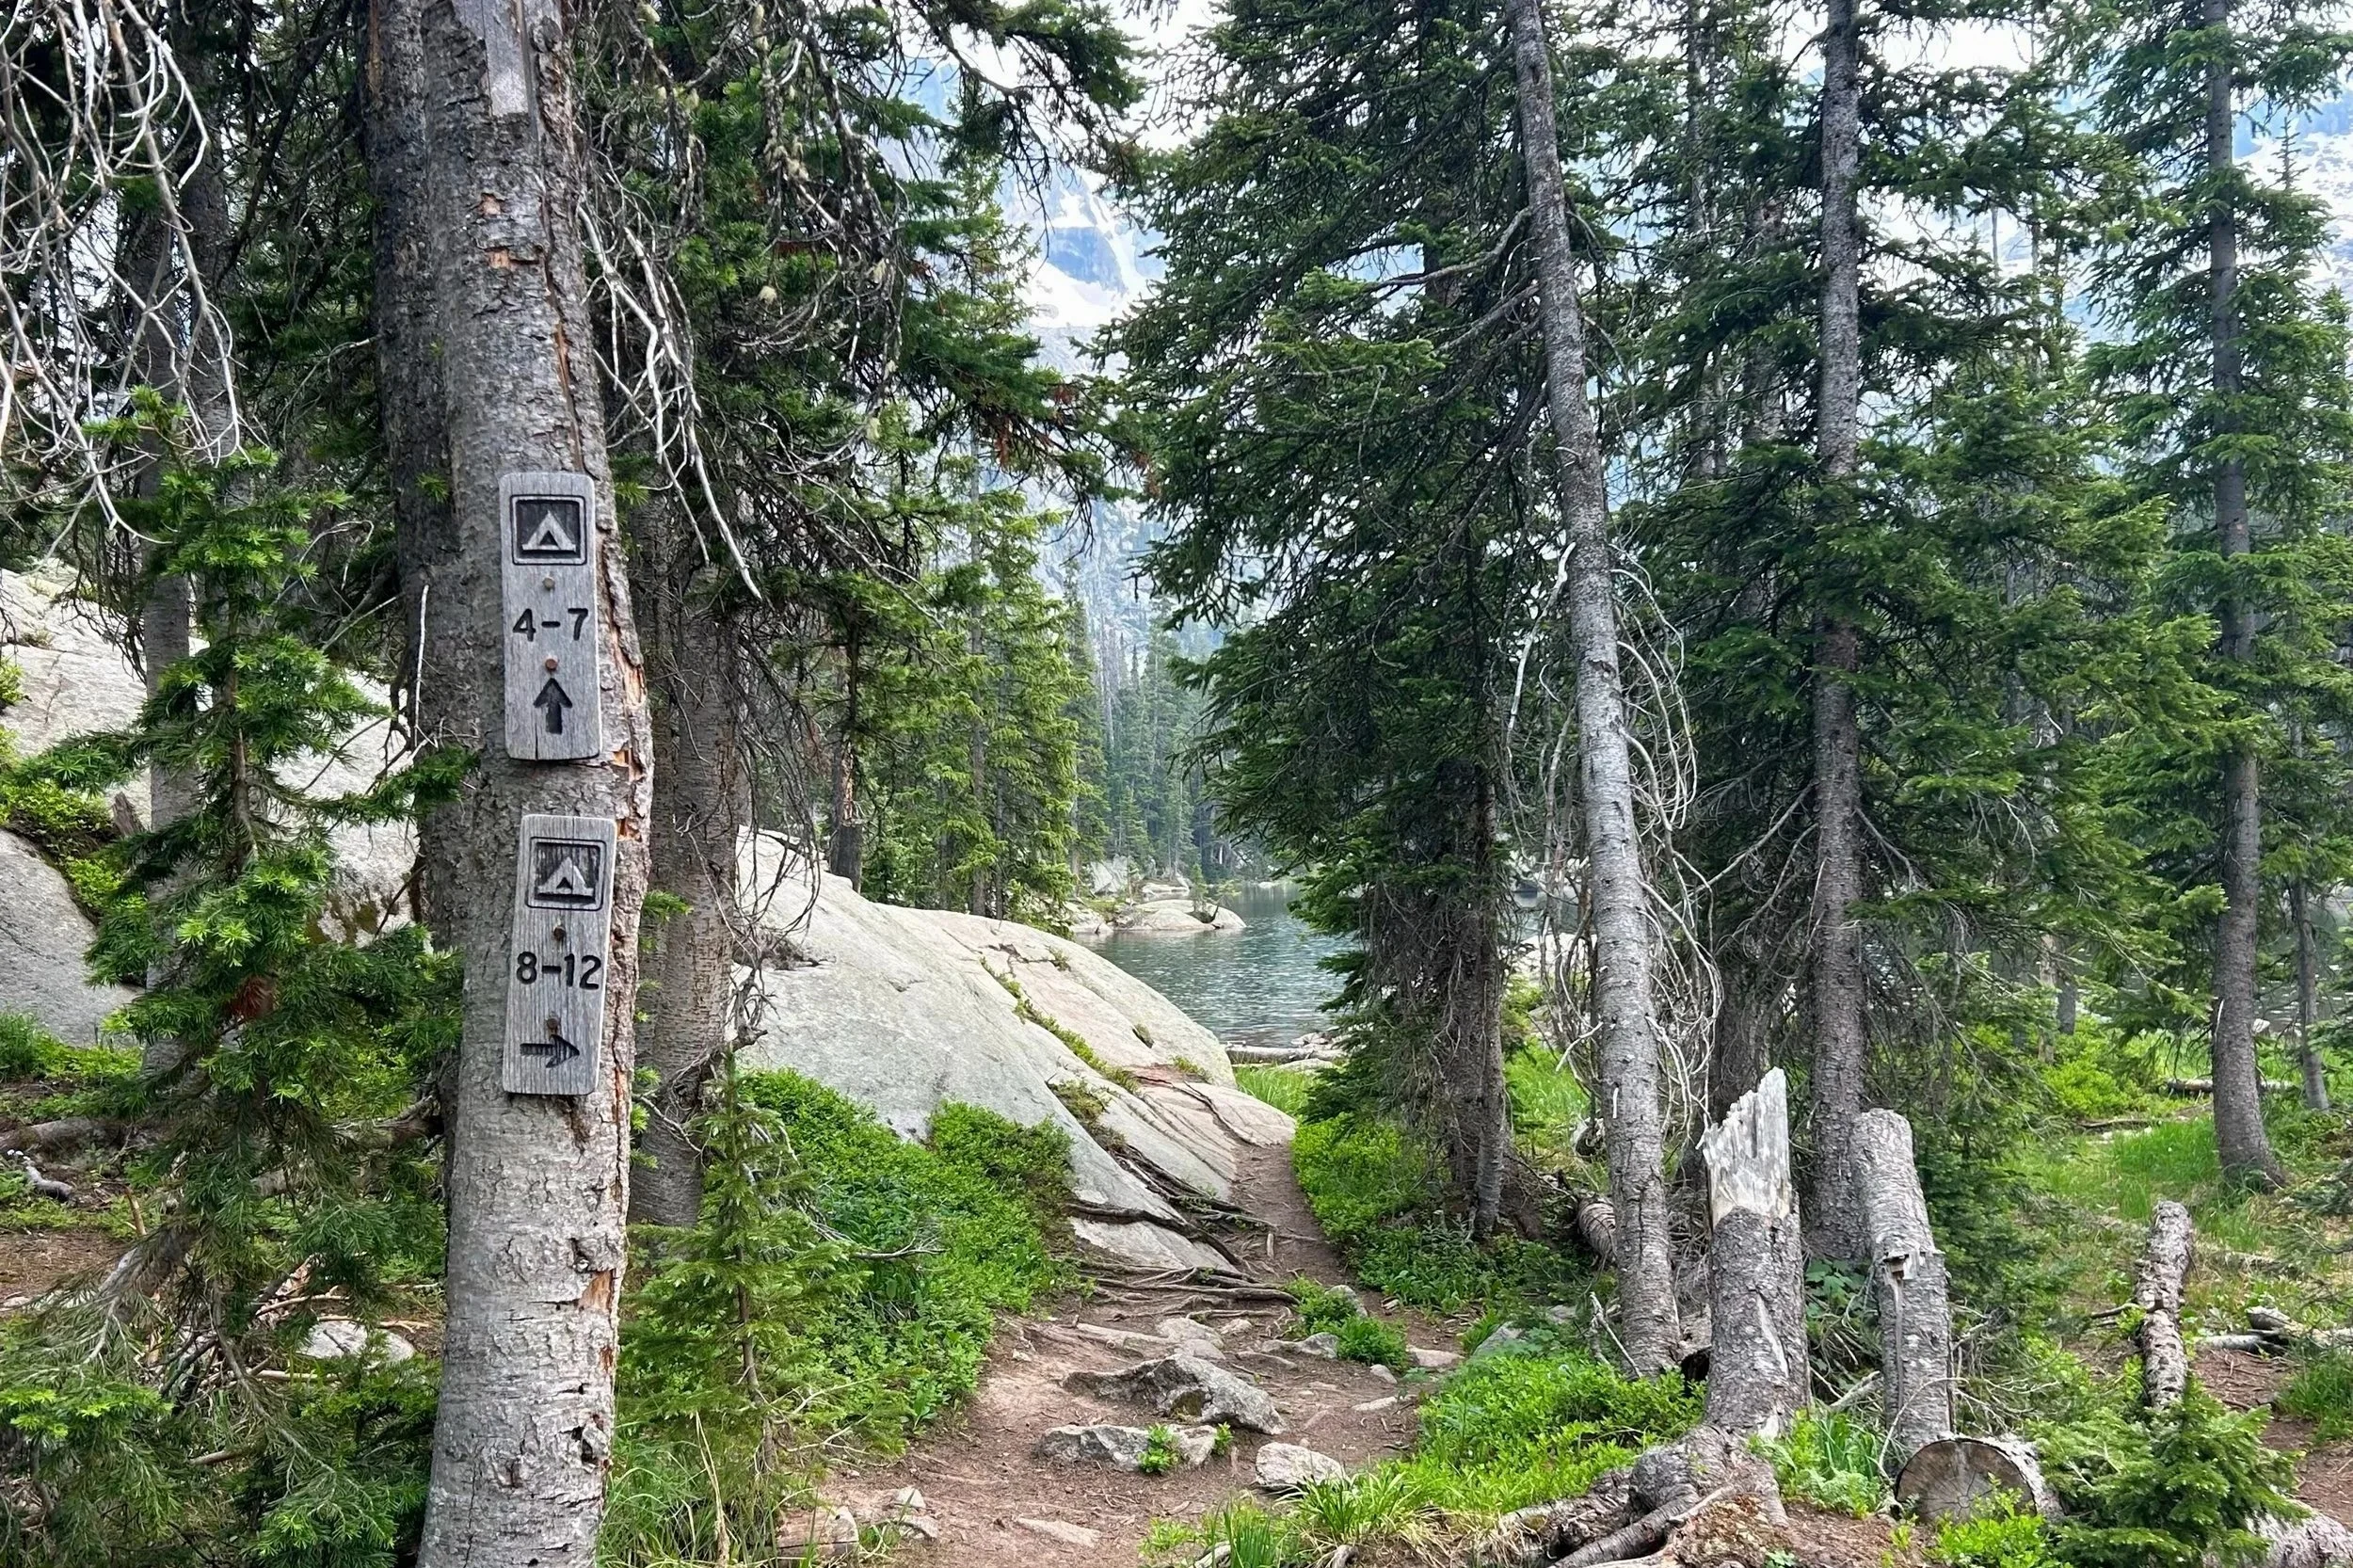
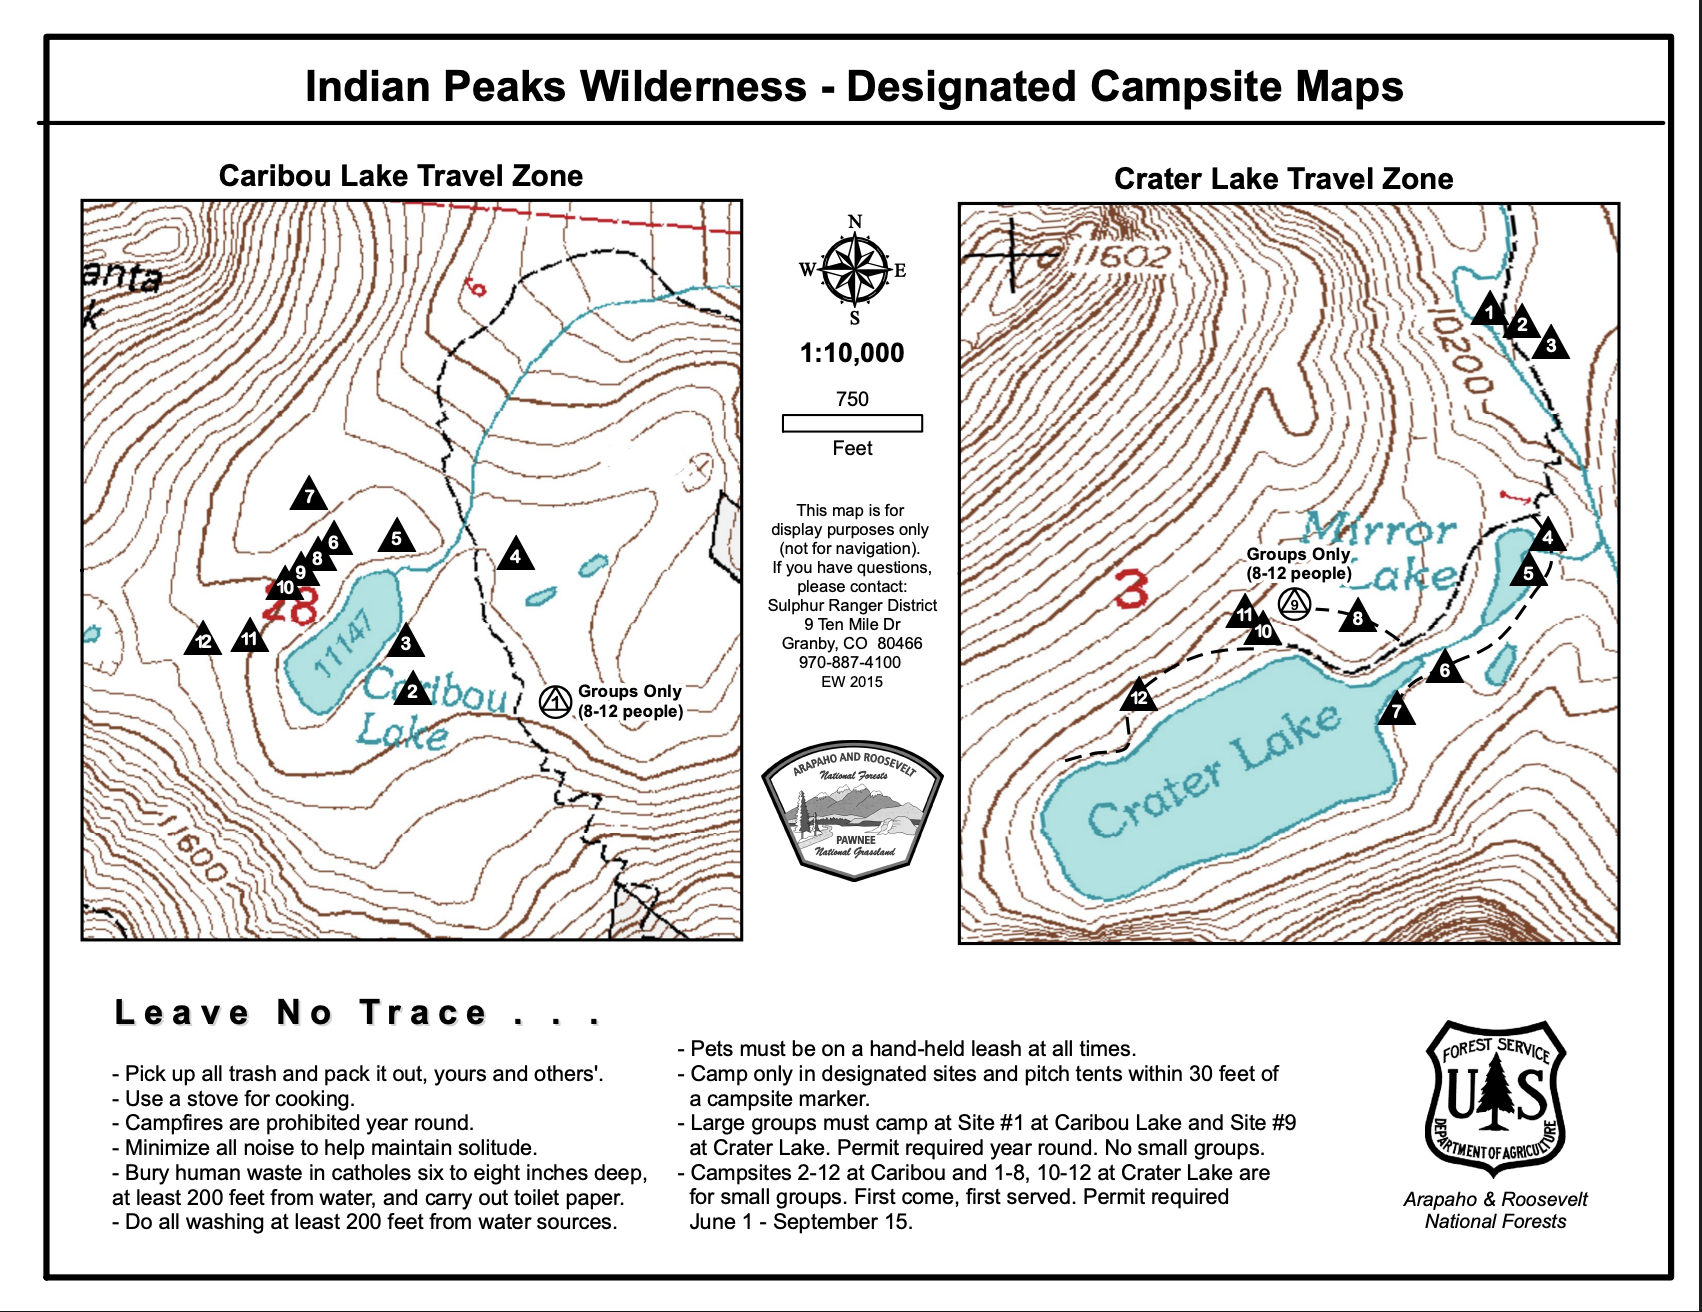
One thing that surprised me was how difficult it was to actually locate the designated campsites.
I highly recommend downloading or taking screenshots of the official campsite map before your trip because cell service is extremely limited.
After wandering through the woods for several minutes, we eventually found the campsite we wanted.
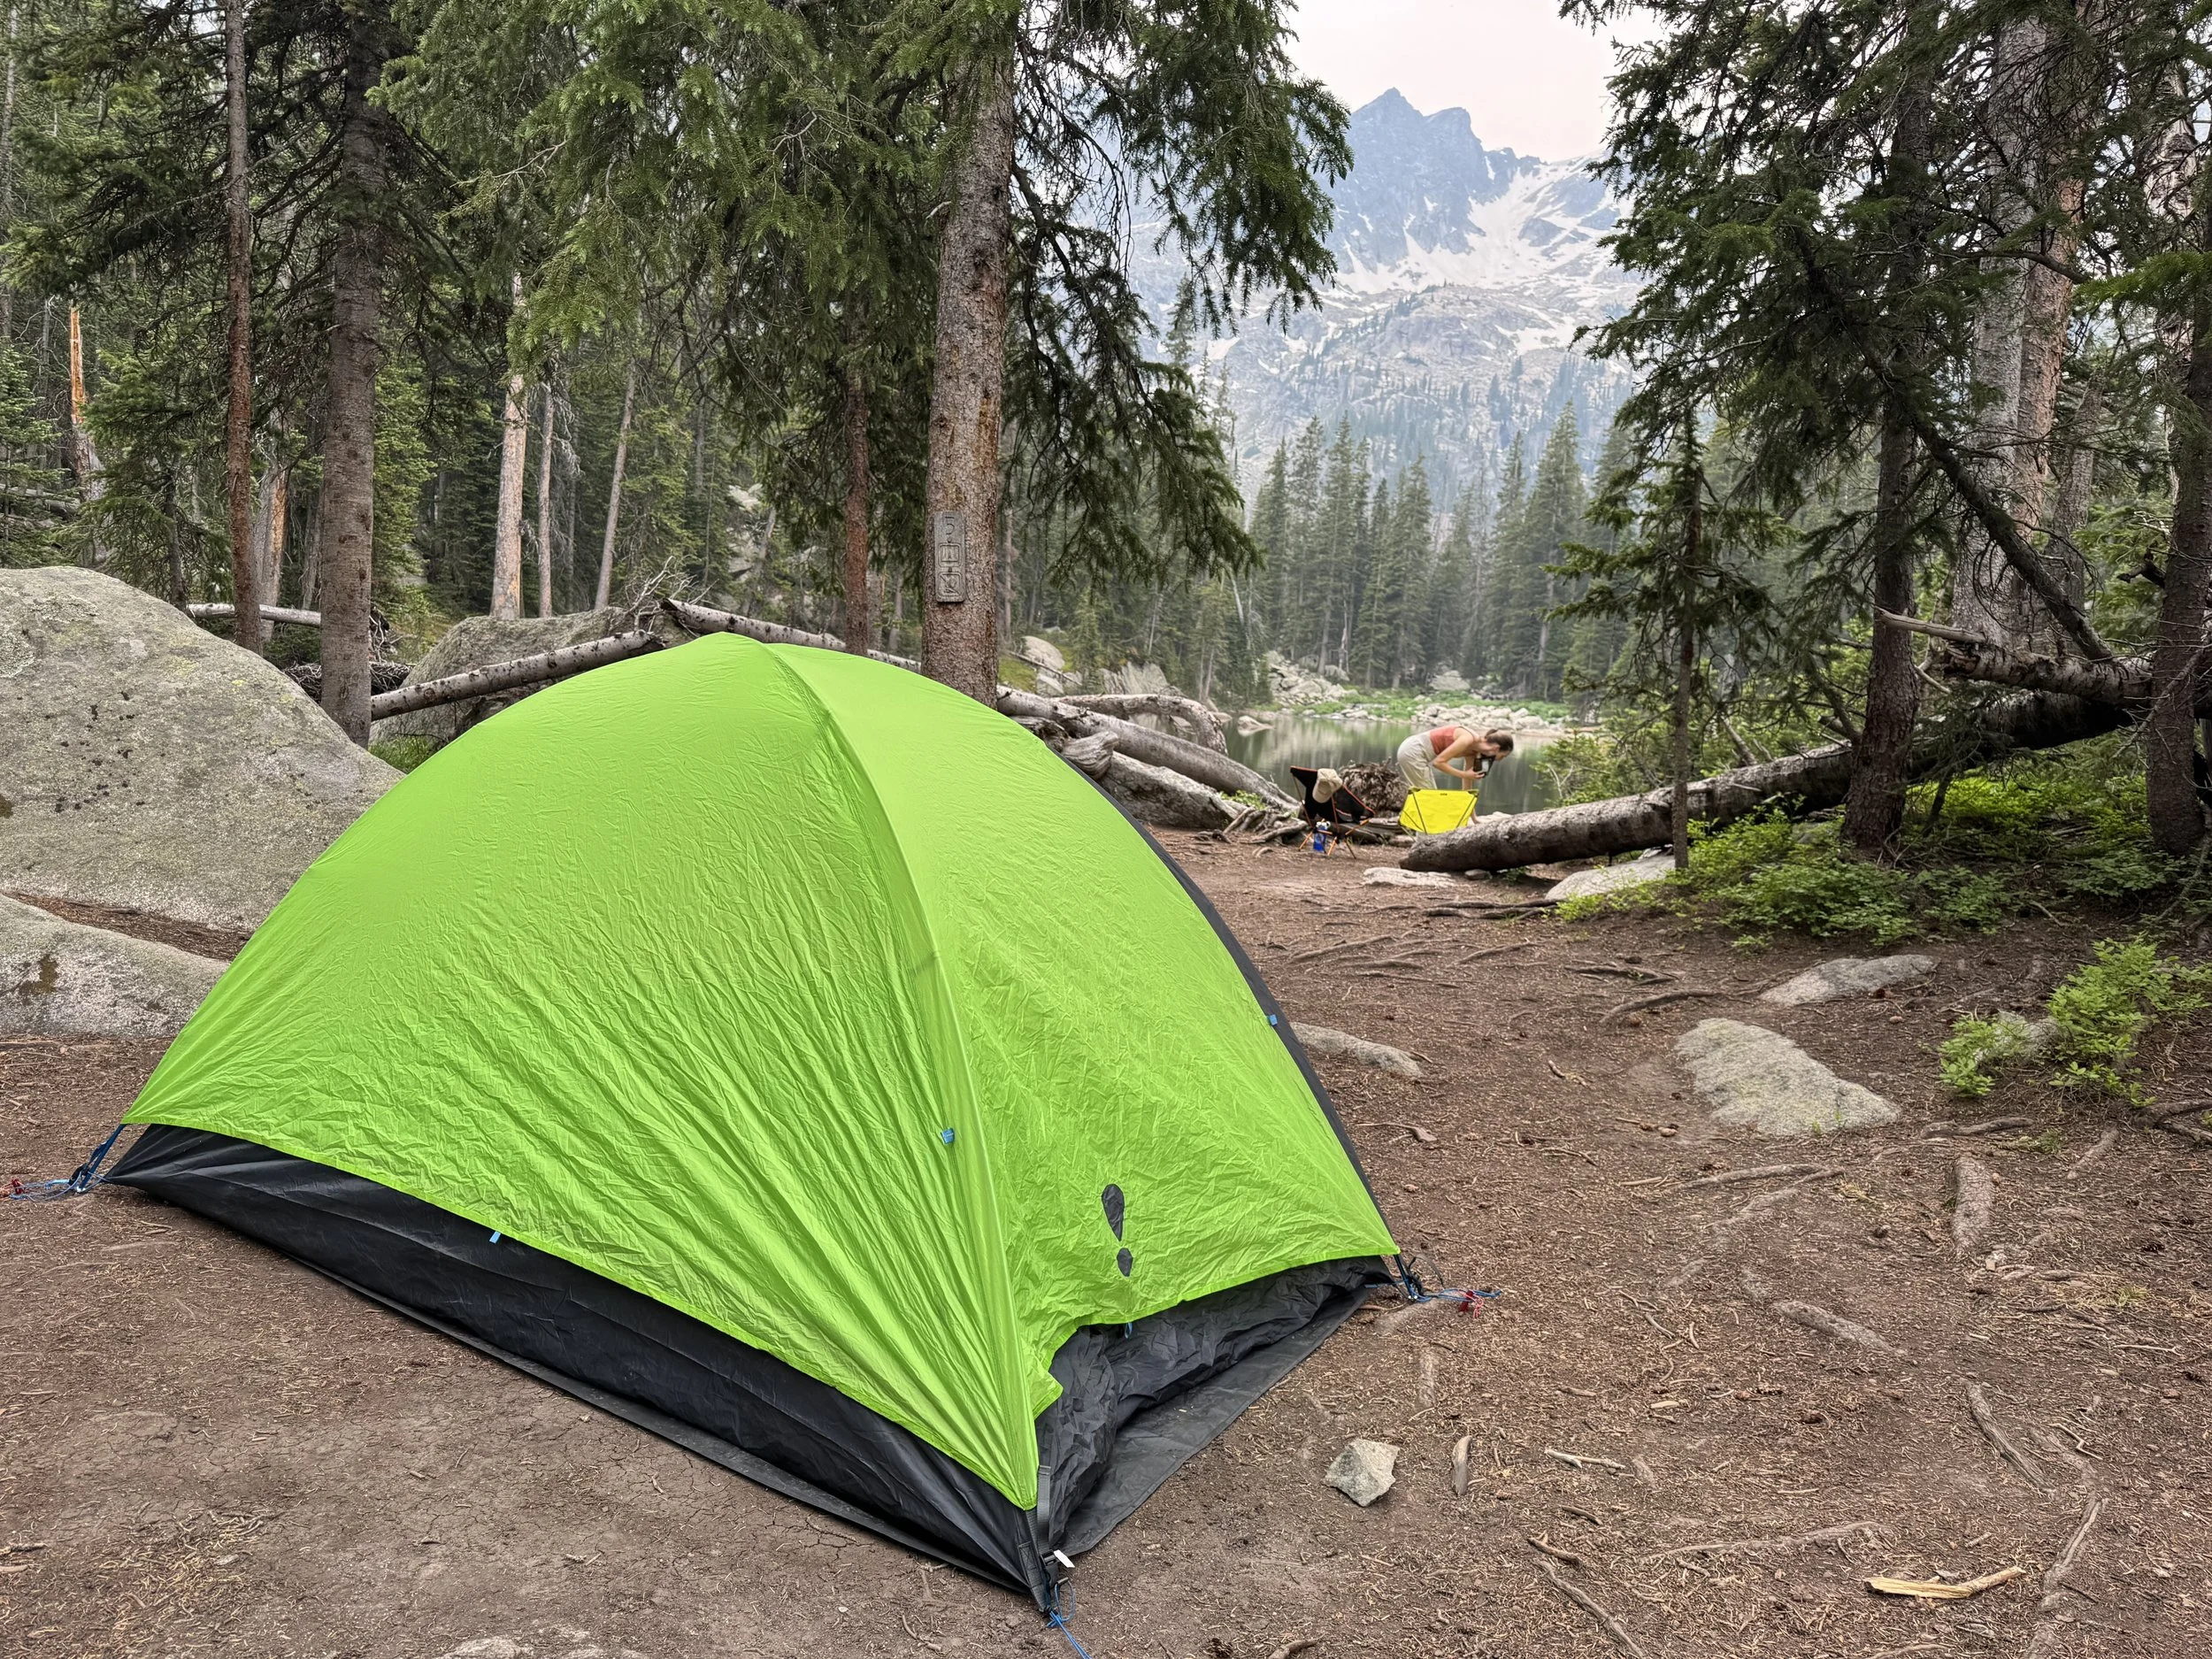
We stayed at Site #5, which sat right on Mirror Lake with incredible views of Lone Eagle Peak. The close up views of the mountain from our campsite was easily the highlight of the trip.
We were hoping to claim a campsite on Crater Lake, but we were tired and didn’t want to add any further mileage to our already very long hike.
Because campsites are first-come, first-served within your permitted zone, arriving earlier in the day gives you more options.
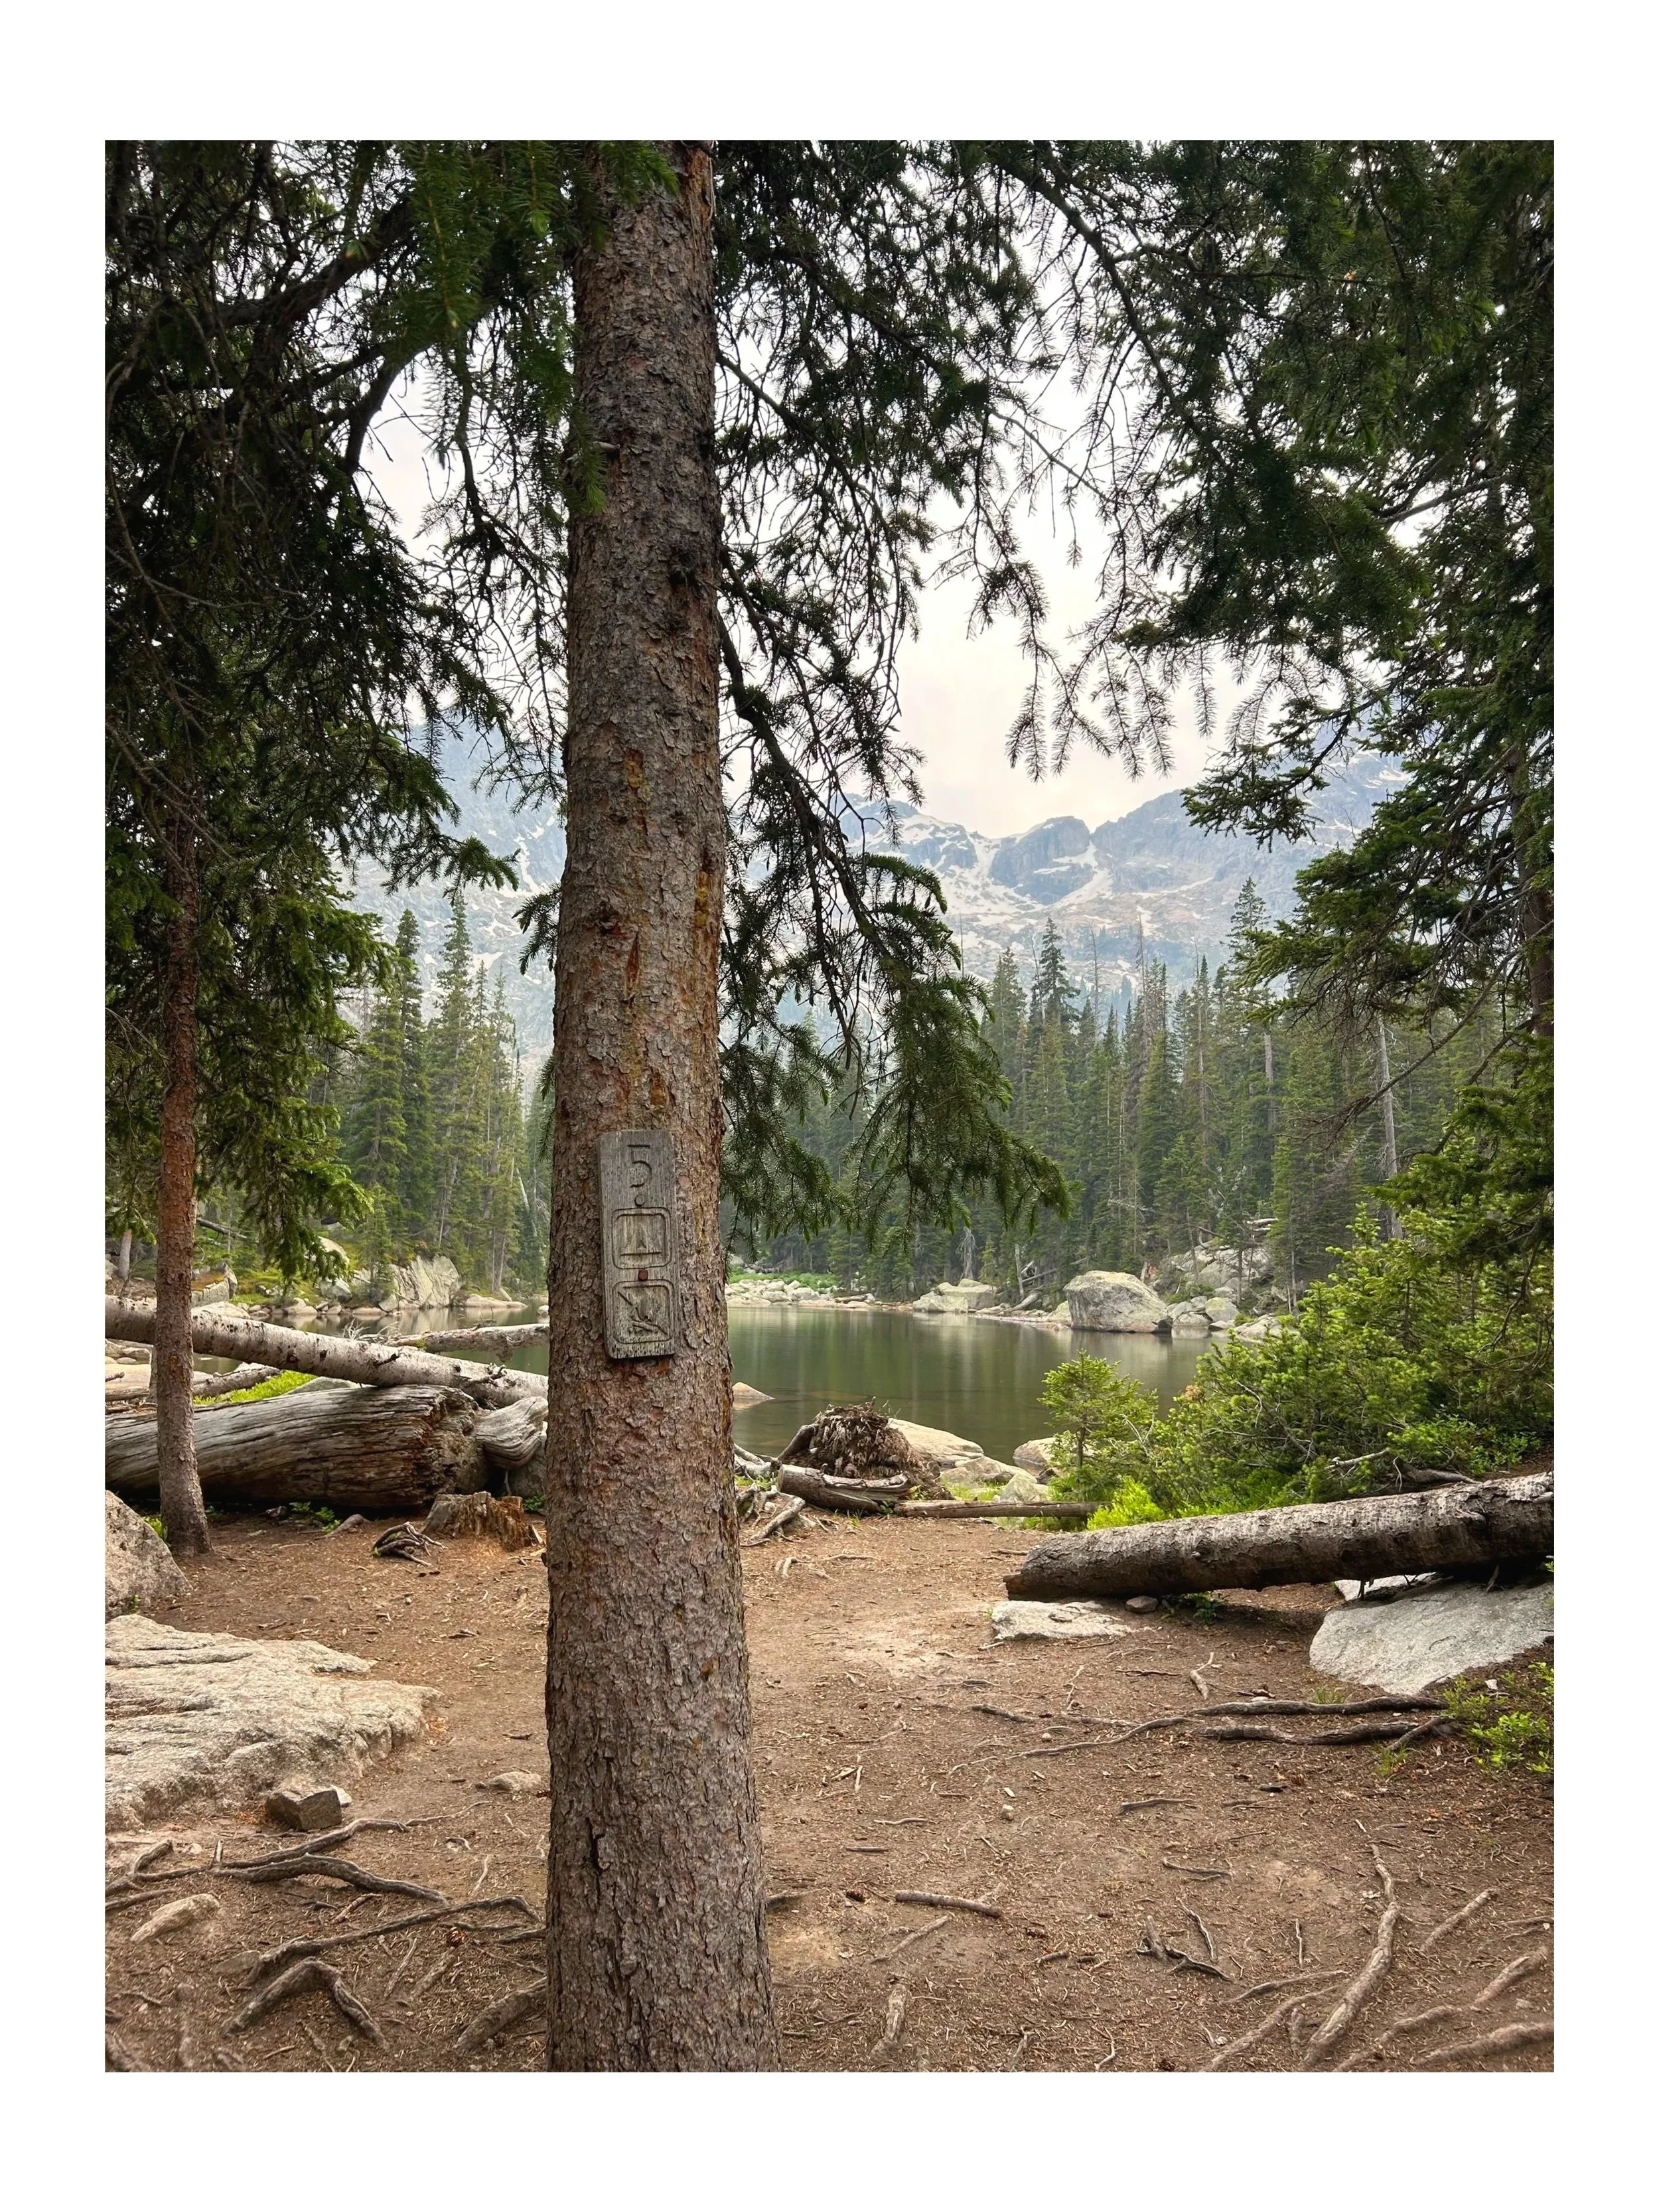
Important Crater Lake Camping Rules
To help protect this incredible wilderness area, make sure you follow these regulations:
Camp only in designated campsites.
Set up your tent within 30 feet of the campsite marker.
Groups of 8–12 people must use Site #9.
Dogs must remain on leash.
Campfires are prohibited.
Use a backpacking stove for cooking.
Bury human waste 6–8 inches deep at least 200 feet from water.
Pack out all toilet paper and trash.
Wash dishes and yourself at least 200 feet from lakes and streams.
Respect quiet hours and fellow backpackers.
My Honest Review of Backpacking to Lone Eagle Peak
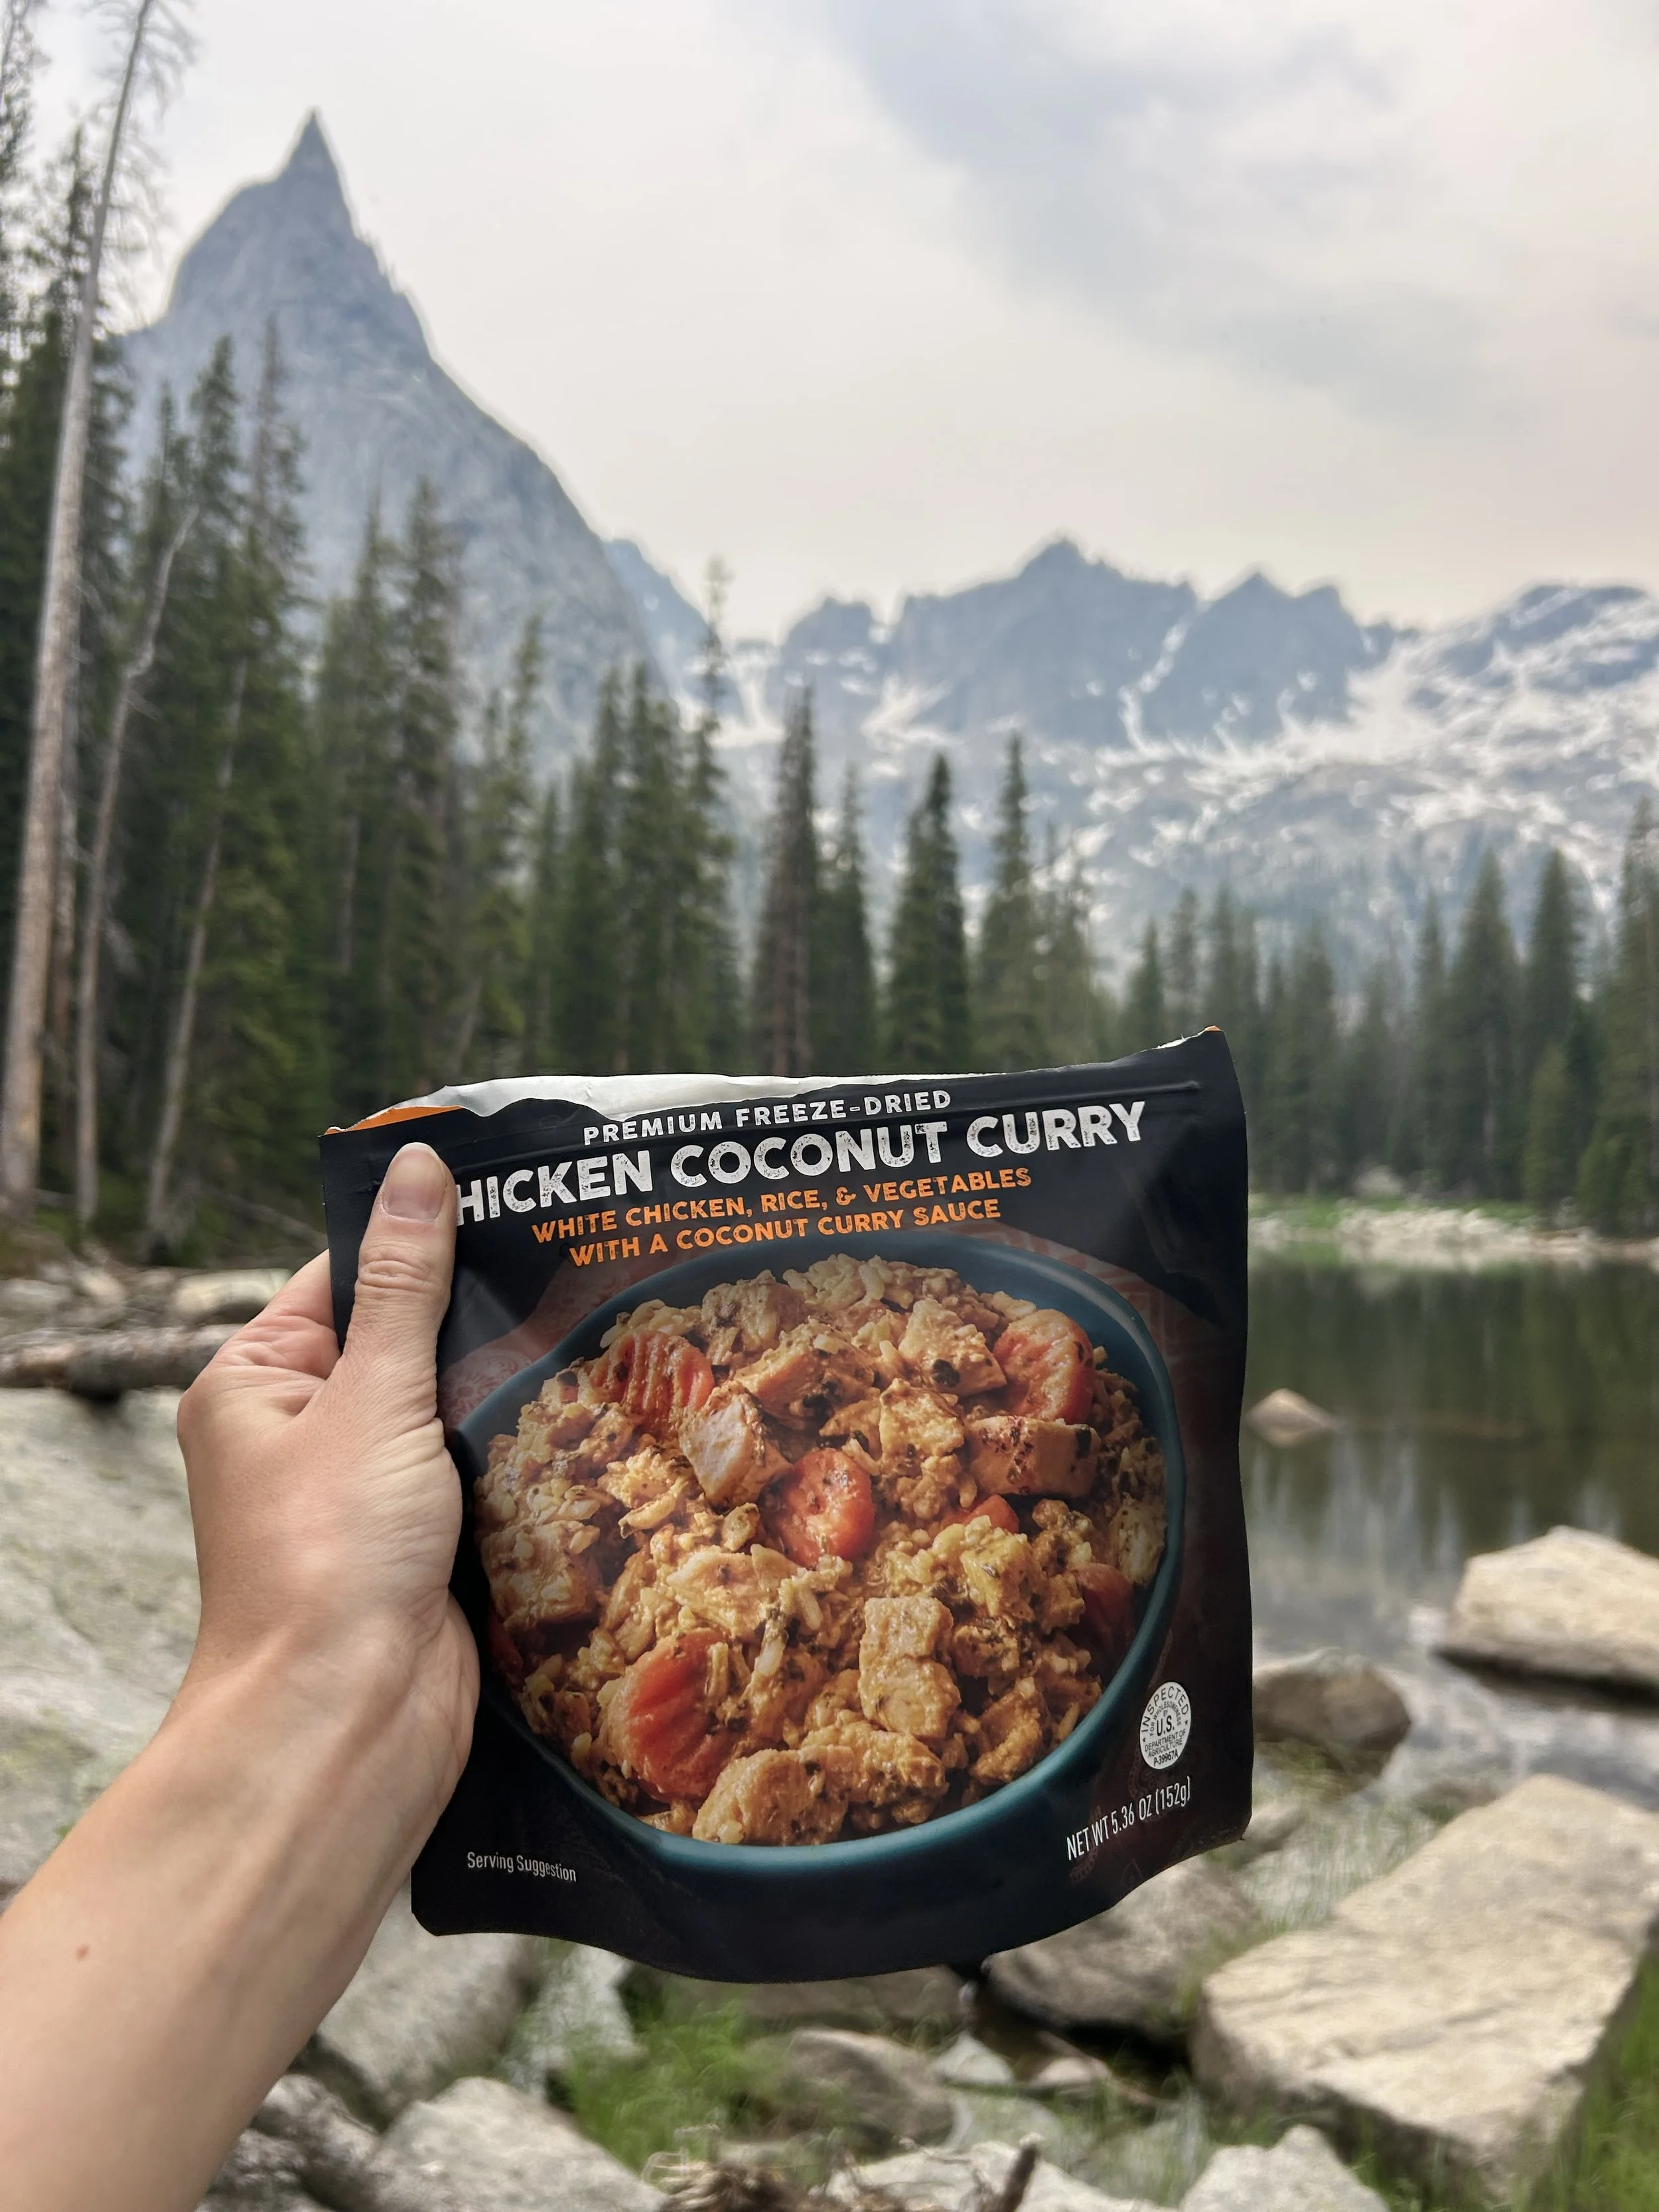
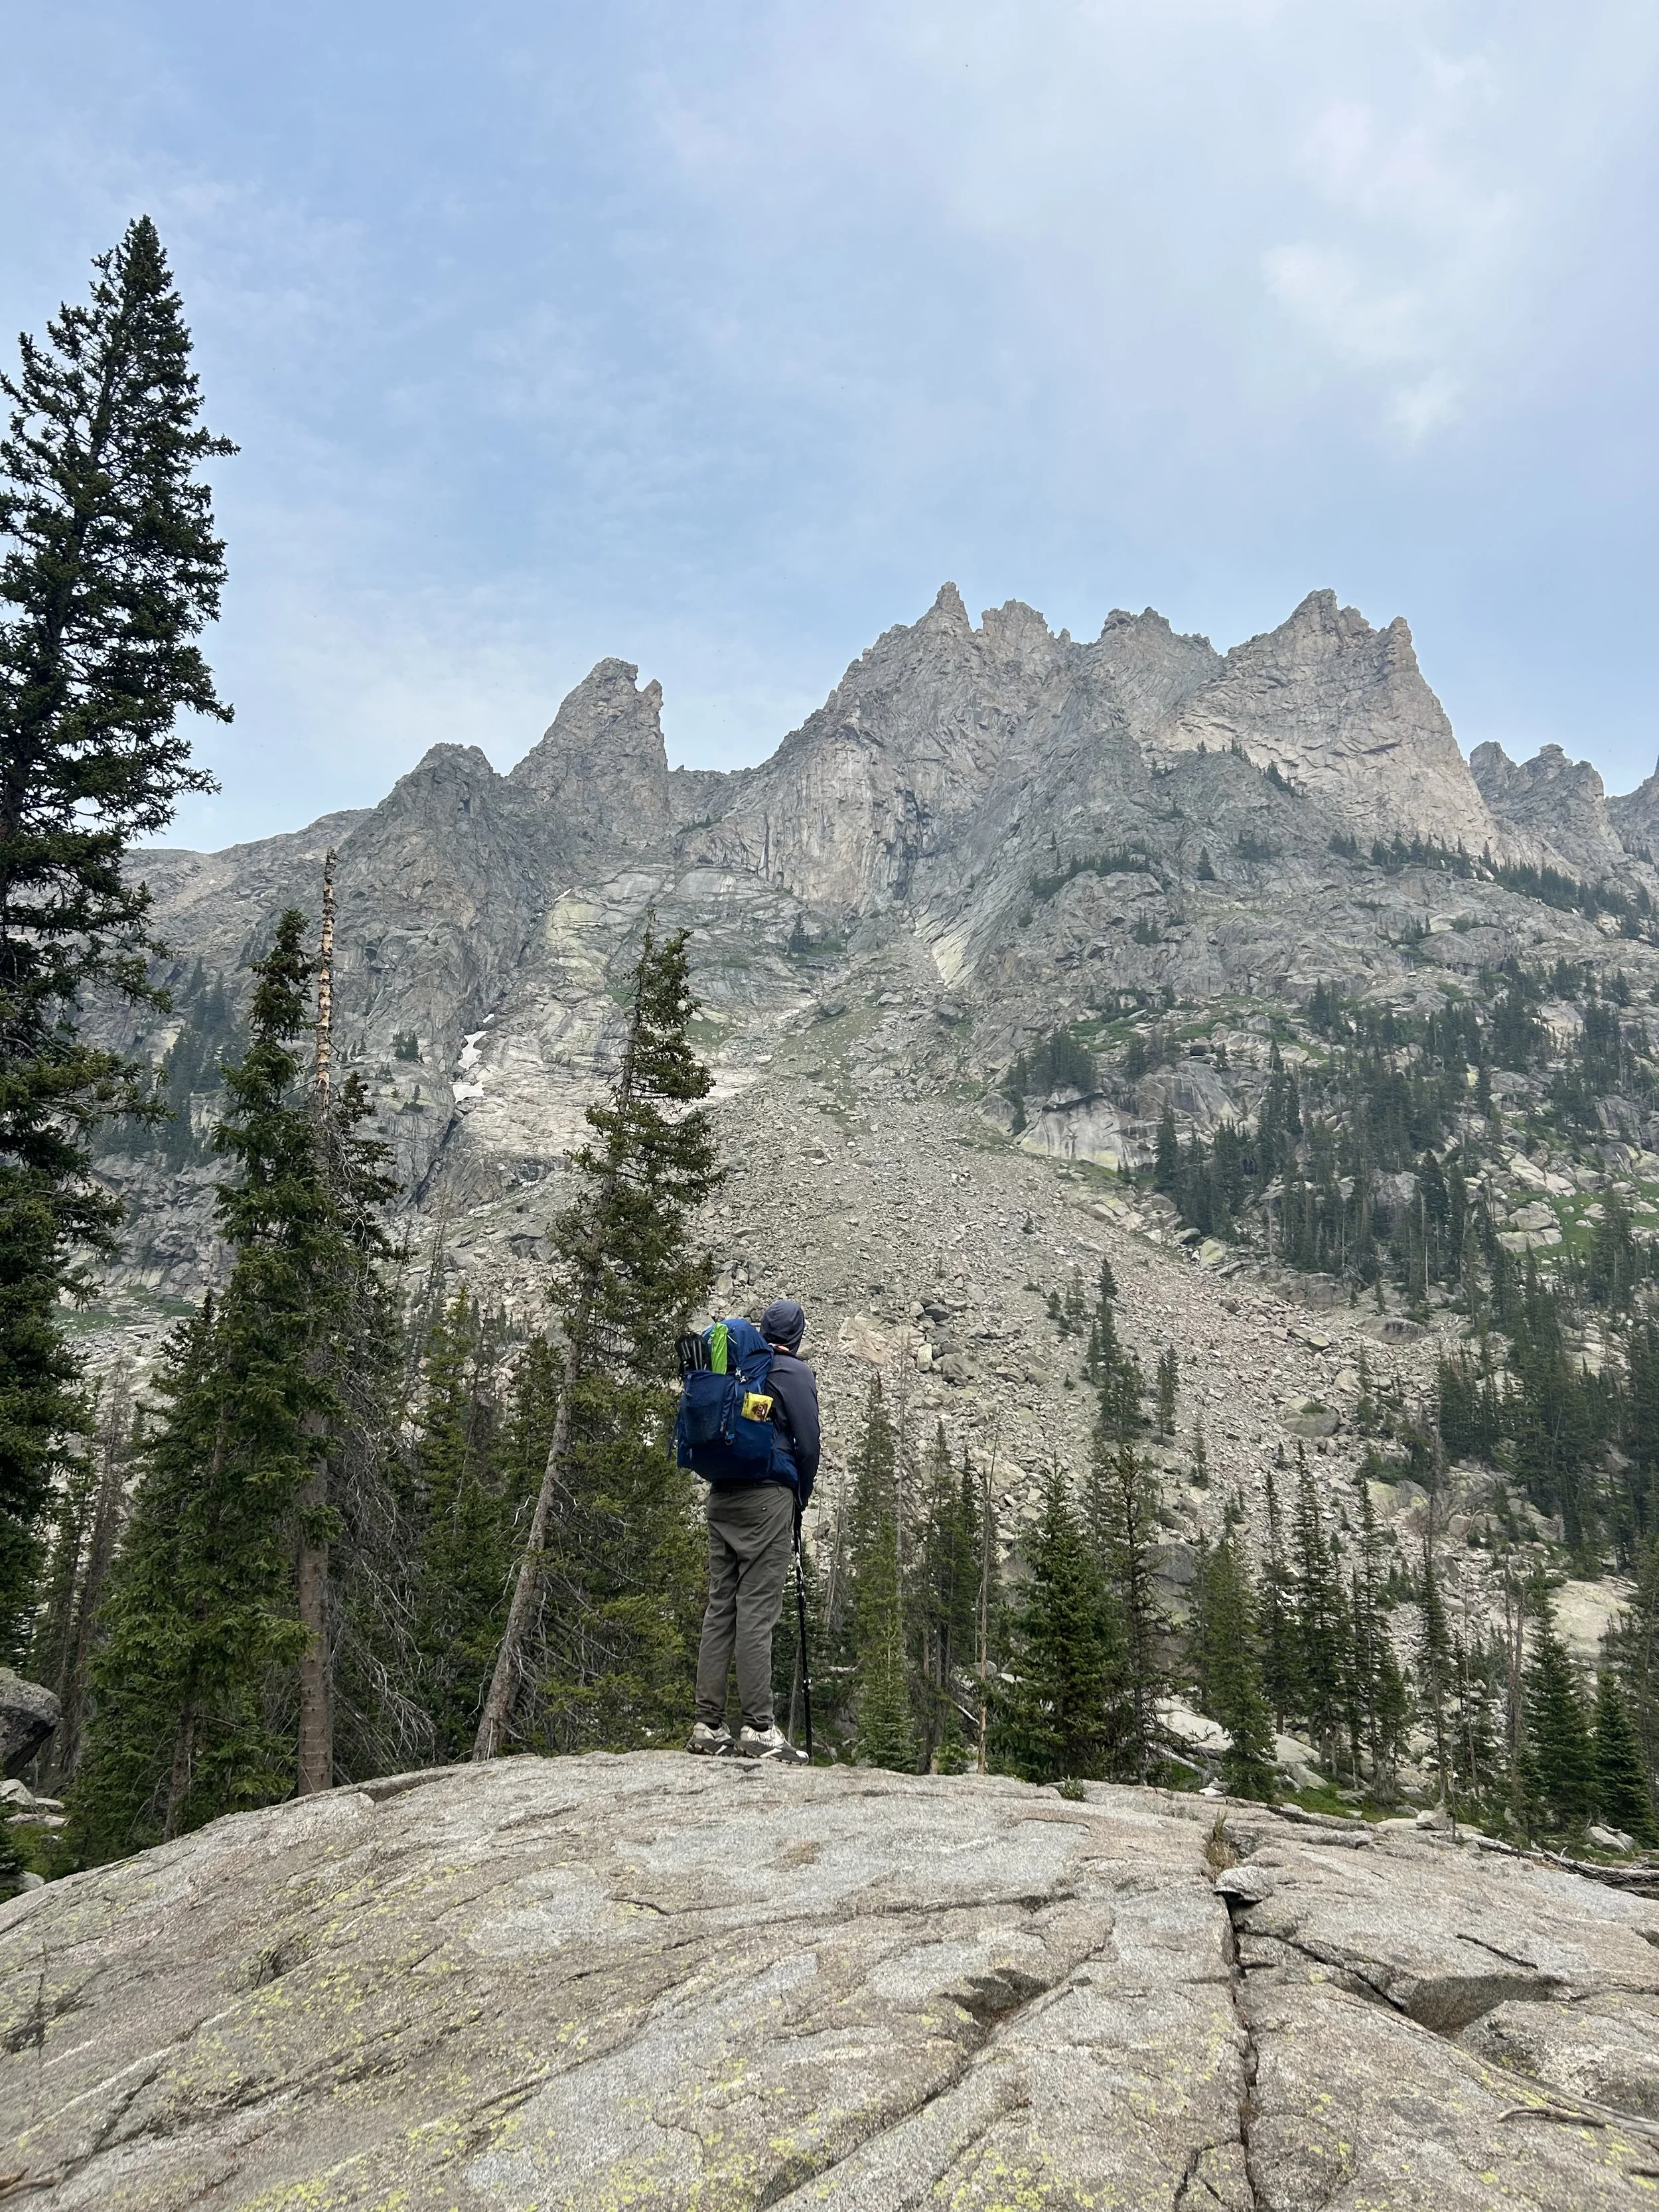
The views of Lone Eagle Peak completely lived up to the hype.
Watching the mountain reflect perfectly in Crater Lake felt surreal, and it's easily one of the most beautiful places I've visited in Colorado.
That said, this backpacking trip was much more difficult than I expected.
Since it was my first time backpacking, carrying a fully loaded pack made the gradual climbs feel much tougher than they would have on a normal day hike. By the time we reached camp, I was completely exhausted.
Looking back, I don't think the trail itself is overly difficult. The elevation gain is fairly gradual. It was simply the added weight of my backpack and the distance that made it such a challenge.
Even so, I would absolutely do it again—maybe as just a day hike though, so I don’t have to carry a ton of weight.
I did appreciate that the trail itself was engaging, having several river crossings, waterfalls, and meadows with wildflowers.
If you're reasonably fit, have some hiking experience, and come prepared for an overnight trip, backpacking to Lone Eagle Peak is an unforgettable adventure and one of the most rewarding backpacking trips in Colorado.
I hope this guide helps you plan your own backpacking trip to Crater Lake to see Lone Eagle Peak with your own eyes.
